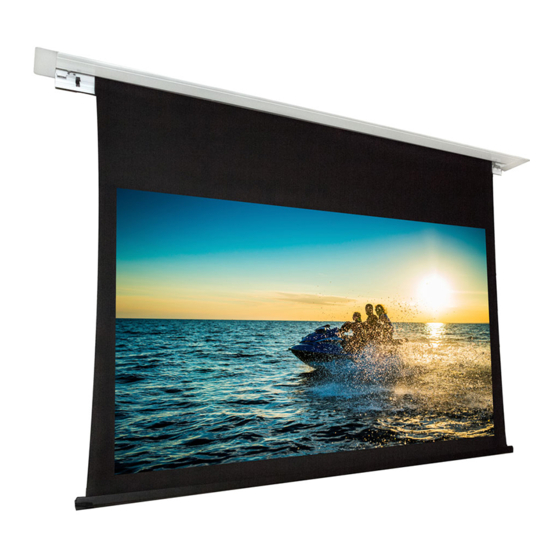
Dragonfly DFRM-TAB-100-MW Manual de instalação - Página 7
Procurar online ou descarregar pdf Manual de instalação para Ecrã de projeção Dragonfly DFRM-TAB-100-MW. Dragonfly DFRM-TAB-100-MW 9 páginas. Recessed in-ceiling motorized projection screen
Também para Dragonfly DFRM-TAB-100-MW: Manual de instalação (17 páginas)

Step 10. Install the Trim Pieces
Install the end caps after the screen has been installed and leveled.
Step 11. Install the Fixed Panel
1.
Begin with the screen completely retracted so that the hinged door is closed.
2. Ensure that the rubber stops on the magnetic brackets in the housing are resting against the
hinged door when closed for proper alignment of both doors.
3. Lower the screen enough for the hinged door to open and fall out of the way.
4. Install the fixed panel by hooking the edge into the front of the housing, then pushing the panel
up until the magnets attach it to the brackets.
5. After installing the panel, retract the screen to the closed position and adjust as needed for a
flush appearance.
Step 12. Adjusting the Tab Tension Setting
(TAB Models Only)
If the sides of the screen appear wavy or bent, the tab tension setting
must be adjusted. Turn the adjustment knob on each side until both
sides are even and flat.
To tighten the tabs, turn the adjustment knob clockwise.
To loosen the tabs, turn the adjustment knob counterclockwise.
12
Cleaning the Screen
Follow these guidelines to clean any marks or residue from the viewing surface:
• Do not clean the screen case with water.
• Use a dry microfiber cloth to clean dust and dirt from the housing and screen on regular
occasions.
Troubleshooting
Dragonfly screens are designed to function trouble-free for years of enjoyment. Most issues are
simple and easy to resolve. If you have trouble, review the installation instructions. Resolutions to
common issues are listed in the table below.
Issue
Solution
If the screen is repeatedly reversed while in motion, it may stop moving
and reacting to any control method. This is a safety feature that keeps the
motor from overheating. If this occurs, stop testing for about five minutes,
then resume.
The screen is not
Check the film screen's power connection. Use a voltmeter to check for
reacting to any form
power and that polarity is correct.
of control.
Disconnect all control cables and use the manual control switch on the
bottom left side of the screen housing. If this works, check the desired
control method for problems, such as the wiring and control codes being
used. If needed, consult the controller manufacturer to confirm that all the
settings are correct. If this doesn't work, check power as indicated above.
The viewing surface
See "Step 9. Adjust Screen Travel" on page 11.
is too high/low.
Change the batteries in the RF remote. (2x AAA alkaline)
RF control does
not work but other
The remote may not be paired to the screen. See "Step 7. Pair the RF
control methods do.
Remote" on page 9.
13
