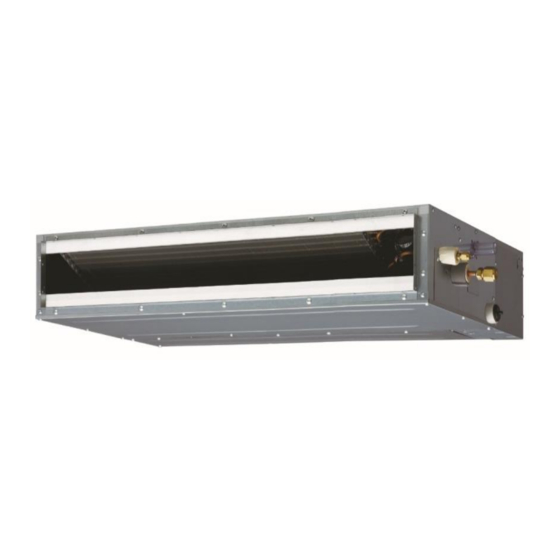
AirStage ARUL12RLAV Manual de instalação - Página 11
Procurar online ou descarregar pdf Manual de instalação para Ar condicionado AirStage ARUL12RLAV. AirStage ARUL12RLAV 20 páginas. Indoor unit (duct type)
Também para AirStage ARUL12RLAV: Manual de instruções (8 páginas)

(2) Be sure to connect Drain pipe with adhesive (polyvinyl chloride) so that there is no
leakage.
Applying
area of
adhesive
Do not connect to the Drain hole with adhesive. Using adhesive may cause damage
and water leaks.
(3) After installing the Drain hose 1 , check if the drainage is smooth.
To prevent excessive force on Drain hose 1 , avoid bends or twists. (To bend or twist
may cause water leaks.)
(4) After checking for drainage, attach the Drain hose insulation B 3 to insulate, following
the instructions as in the fi gures.
To avoid space with Drain hose 1 and Hose band 2 , press fi rmly the Drain hose
insulation B 3 .
Ensure there is
no space.
• STEP1~STEP3
Butt the insulation
against the unit.
Press fi rmly
Slit
Press fi rmly
Roll the in-
sulation over
the joint.
• FINISH
Check that there is no gap between the unit and the drain hose insulation.
Joint pipe
(Field supply)
Drain pipe [3/4 in. (19 mm)
O.D.1-1/16 in. (27 mm)] (Field supply)
5/32 in. (4 mm) or less
CAUTION
CAUTION
3 Drain hose
insulation B
Unit
Slit
STEP 1
Press fi rmly
Slit
Press fi rmly
STEP 2
Press fi rmly
STEP 3
• When drain pump is used. (Ceiling concealed type only)
• When drain pump is not used. (Natural drainage)
Note: Check for drainage
Pour about 1 liter of water from the position shown in the diagram or from
the airfl ow outlet to the dew tray. Check for any abnormalities such as
strange noises and whether the drain pump functions normally.
Make sure the drain water is properly drained.
6. ELECTRICAL WIRING
Electrical work must be performed in accordance with this Manual by a person certifi ed
under the national or regional regulations. Be sure to use a dedicated circuit for the unit.
An insuffi cient power supply circuit or improperly performed electrical work can cause
serious accidents such as electric shock or fi re.
Before starting work, check that power is not being supplied to the indoor unit and
outdoor unit.
For wiring, use the prescribed type of cables, connect them securely, making sure that
there are no external forces of the cables applied to the terminal connections.
Improperly connected or secured cables can cause serious accidents such as
overheating the terminals, electric shock, or fi re.
Securely install the electrical box cover on the unit.
An improperly installed electrical box cover can cause serious accidents such as
electric shock or fi re through exposure to dust or water.
Install sleeves into any holes made in the walls for wiring. Otherwise, a short circuit
could result.
Use the included connection cables and power cables or ones specified by the
manufacturer. Improper connections, insuffi cient insulation, or exceeding the allowable
current can cause electric shock or fi re.
Do not modify the power cables, use extension cables, or use any branches in the
wiring. Improper connections, insuffi cient insulation, or exceeding the allowable current
can cause electric shock or fi re.
Match the terminal block numbers and connection cable colors with those of the
outdoor unit. Erroneous wiring may cause burning of the electric parts.
Securely connect the connection cables to the terminal board. In addition, secure the
cables with wiring holders. Improper connections, either in the wiring or at the ends of
the wiring, can cause a malfunction, electric shock, or fi re.
Always fasten the outside covering of the connection cable with the cable clamp. (If the
insulator is chafed, electric discharge may occur.)
Do not cover the
panel window.
Do not cover the
control box cover.
CAUTION
WARNING
En-10
