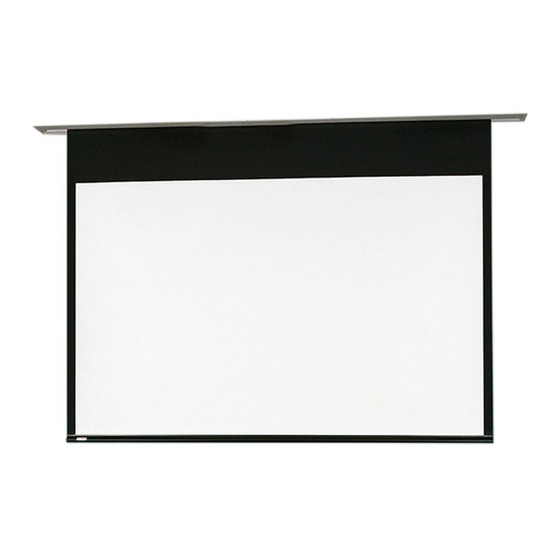
Draper 146012 Instruções de instalação e funcionamento - Página 7
Procurar online ou descarregar pdf Instruções de instalação e funcionamento para Ecrã de projeção Draper 146012. Draper 146012 8 páginas. Electric projection screen

4 "
"
Access FIT E and V
(124mm)
(16mm)
6 "
(164mm)
Standard Motor Wiring is on the
AUDIENCE LEFT END of Screen Case.
Section 9 - Case Length Dimensions
CASE LENGTH
18
"
(457mm)
L*
"
(19mm)
*L = Varies
• For minimum length of ceiling cutout: subtract 1 1/4"
• For minimum width of cutout
• ** Leveling bracket is used to level the case and should NOT be used to support the weight of the unit.
• The leveling bracket is screwed to the side of the case. Hardware used for leveling provided by others.
• There are several knock-outs in the screen housing to allow the Leveling Bracket to be adjusted laterally up to 16"
Section 10 - Case Width Dimensions
7 "
5
"
(144mm)
(51mm)
3"
(76mm)
"
(22mm)
"
4 "
(124mm)
(16mm)
6 "
Standard Motor Wiring is on the
AUDIENCE LEFT END of Screen Case.
CASE LENGTH
18
"
(457mm)
"
(19mm)
Center
of Case
(203mm)
Series V
Viewing Surface
: see case width dimensions below.
(front to back)
(197mm)
"
(13mm)
(11mm)
2"
5 "
(130mm)
"
(16mm)
(164mm)
"
(19mm)
18
"
(457mm)
1 " TYP
(35mm)
5 "
8"
(137mm)
Viewing Surface
from case length
(32mm)
(measured from outer edge of flanges)
Section 11 - Mounting Bracket Dimensions
"
(11mm)
1 "
"
(35mm)
ACCESS FIT
18
"
(457mm)
1 " TYP
(35mm)
Center
of Case
LEVELING BRACKET**
Series E
.
in either direction.
(40.6cm)
3 "
(87mm)
6 "
(165mm)
7 "
(197mm)
LEVELING BRACKET**
page 7 of 8
"
(22mm)
L* L*
"
(19mm)
1 "
(41mm)
"
(22mm)
