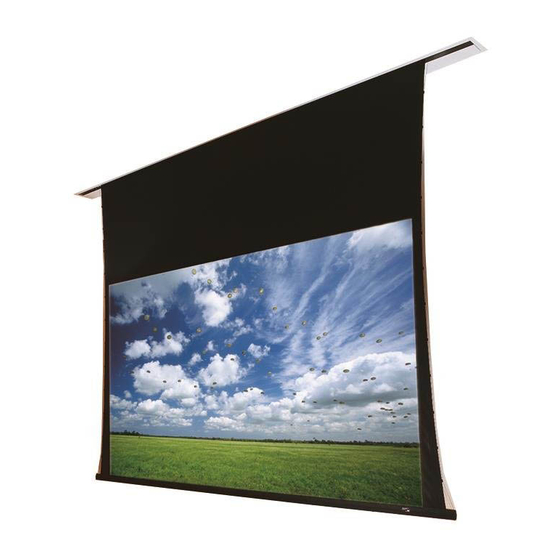
Draper Access Fit Instruções de instalação e funcionamento - Página 3
Procurar online ou descarregar pdf Instruções de instalação e funcionamento para Ecrã de projeção Draper Access Fit. Draper Access Fit 4 páginas. 220v electric

Access Fit 220V Instructions by Draper
Please Note: Screen limits are factory set for optimum performance of the
screen. A procedure is outlined below for minor tweaks, but any adjustment of
these limits may negatively affect the flatness of the screen surface and could
also void the warranty. Please check with Draper prior to resetting screen limits.
CAUTION: Always be prepared to shut screen off manually when new
adjustment is being tested. Screen may be severely damaged if viewing
surface is allowed to run too far up or too far down.
CAUTION: Be sure all switches are in "off" position before adjusting limit
switches.
To Motor
with
Built-In
Low Voltage
Slide
P
O
T
S
Switch
C
o
m
+
m
5V
o
To Motor
DC
n
with
Built-In
Low Voltage
Back View
Please note: When ordering a motor with internal Low Voltage Controller,
if the case ships separate from the "guts," the case includes the 25' cable
POSITION
FUNCTION
and special low voltage switch.
Set LOWER limit
DOWN
Set UPPER limit
UP
Normal Operation
CENTER
457mm
L*
*L = Varies
For ceiling cutout subtract 38mm from case length and width (measured from outer edge of flanges).
197mm
29mm
51mm
144mm
22mm
76mm
16mm
124mm
164mm
Limit Adjustments (Low Voltage Motors with Internal Low Voltage Controller)
Figure
Please Note: 5V DC must be
connected to be able to set
limits using the wall switch.
POSITION
FUNCTION
Set LOWER limit
DOWN
D
o
U
w
p
Set UPPER limit
UP
n
Normal Operation
CENTER
CASE LENGTH
19mm
Center
of Case
203mm
13mm
11mm
16mm
130mm
www.draperinc.com
1 Connect the ILT switch to the motor via the terminal blocks, or via the modular port
using four conductor modular cable. When using modular cable, the cable
connectors MUST NOT be crimped in reverse, as with standard telephone cable.
(For a Dry Contacts Wiring Diagram, see page 4.)
2 Set the slide switch to the lower position. Press and hold the DOWN button on the
switch to move the viewing surface to the desired lower limit. If the screen moves in
the opposite direction, release the DOWN button and press and hold down the
STOP button for four seconds. This will reverse the operation of the UP and DOWN
switches.
3 Move slider switch into center position.Wait a couple of seconds.
Please Note: If you move the slider switch from down to up in one motion it
sets the two limits in the same position.
4 Set the slide switch to the higher position. Move the viewing surface to desired
upper limit by pressing and holding the UP button on wall switch.
5 Return the slide switch to the center position to return to normal operation.
6 To set the viewing surface to an alternate format position, move the viewing surface
to the desired position and press the STOP button. Press and hold the STOP
button for at least three seconds to record the position.
Please Note: Pressing and releasing the UP button on the switch will move the
screen to its upper limit. Pressing and releasing the DOWN button will move the
screen to its lower limit.
While the motor is in motion, pressing the STOP button for less than two
seconds will stop the viewing surface at its present position.
Once the motor is stopped, pressing the STOP button will move the viewing
surface to its alternate format position.
Pressing and holding the STOP button, when the motor is at rest or in
motion, for at least three seconds will record a new alternate format position.
Case Dimensions
457mm
35mm TYP
175mm
Mounting Bracket Dimensions
9.5mm
13mm
38mm
R 6mm
3mm
35mm
6mm
R 3mm
(765) 987-7999
LEVELING BRACKET**
22mm
17mm
**There are several knock-
outs in the screen housing
to allow the Leveling
Bracket to be adjusted
laterally (up to 16" in either
direction)
13mm
5mm
73mm
13mm
38mm
87mm
165mm
197mm
page 3 of 4
5mm
29mm
6mm
