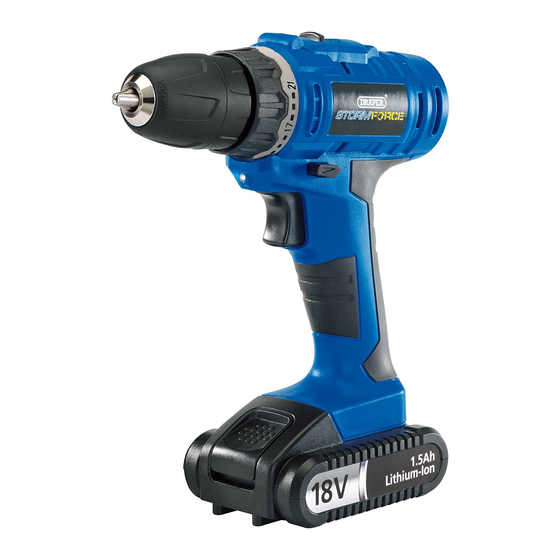
Draper 16049 Manual de instruções - Página 12
Procurar online ou descarregar pdf Manual de instruções para Perfurar Draper 16049. Draper 16049 20 páginas. 18v li-ion cordless

8.
BASIC CORDLESS ROTARY DRILL OPERATIONS
8.3 INSTALLING AND
REMOVING BITS – FIG. 3
The drill is fitted with a keyless chuck
that a chuck key is not required to secure the drill or
screwdriver bit.
(i) Place the drill bit shoulder into the chuck as
far as it will go.
(ii) Tighten the chuck firmly.
Note: Short screwdriver bits need only be inserted to
the depth of the hexagon shank before tightening
chuck by hand.
8.4 LED WORK LIGHT – FIG. 4
To aid drilling and screwdriving in confined,
inadequately lit spaces, the LED work light
automatically illuminates when the trigger is activated.
8.5 FORWARD/REVERSE SELECTOR – FIG. 5
The forward/reverse selector switch determines the
direction of rotation of the chuck, i.e. clockwise or
anticlockwise.
(i) Stop the drill and push switch
right.
Note: When the direction switch is pushed to
the left, the chuck will rotate clockwise.
When the switch is pushed to the right, the
chuck will rotate anticlockwise. Before
operation, check that the switch is set in the
required position. Do not change the direction
of rotation until the chuck comes to a complete stop.
(ii) When the drill is not in use move the direction switch to the neutral position (the
middle setting) to lock the trigger out. This will help prevent accidental drill operation
and drill burn-out situations.
8.6 VARIABLE SPEED TRIGGER – FIG. 5
When the trigger
set in the forward or reverse position). This trigger switch is electronic which enables the user
to vary the speed continuously. The speed varies according to how far the trigger switch is
depressed. The further it is depressed, the faster the chuck will rotate. The lighter it is
depressed, the slower it will rotate.
12
is depressed, the chuck will rotate (provided the direction switch
, this means
to the left or
FIG.3
FIG.3
FIG.4
FIG.5
is
