Draper CS14A Manual de instruções - Página 6
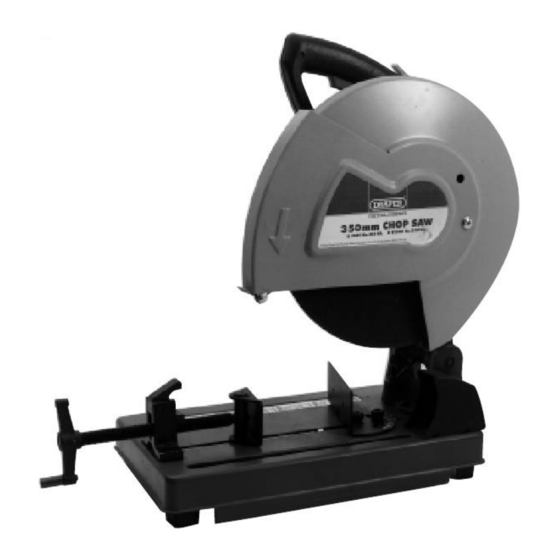
Procurar online ou descarregar pdf Manual de instruções para Serra Draper CS14A. Draper CS14A 12 páginas. 350mm chop saw
Também para Draper CS14A: Manual de instruções (16 páginas)

1.
WARNING: Do not operate your abrasive
cut-off saw until it is completely assembled
and installed according to the instructions.
2.
IF YOU ARE NOT thoroughly familiar with the
operation of abrasive cut-off saws, obtain
advice from your supervisor, instructor or
other qualified person.
3.
WEAR safety goggles, face shield, respirator,
body apron, headcovering, safety shoes, long
tight-fitting sleeves and gloves.
4.
USE ONLY recommended reinforced abrasive
wheels with blotters.
5.
TIGHTEN arbor screw and all clamps before
operating.
6.
MAKE SURE spindle lock is disengaged
before operating.
7.
ALWAYS keep guards in place and working
properly.
8.
KEEP hands clear of cut-off wheel.
9.
SECURE workpiece properly. Work should be
straight and firmly clamped to avoid possible
movement and pinching as the cut nears
completion.
10.
NEVER cut anything freehand.
11.
NEVER reach behind or beneath the cut-off
wheel.
12.
MAKE SURE the wheel has come to a
complete stop before removing or securing
workpiece or changing workpiece angle.
13.
MAKE SURE the inside surfaces of the wheel
flanges as well as the sides of the wheel are
free from any foreign matter.
14.
WHEN MOUNTING the wheel, care should be
taken to tighten the arbor screw only enough
to hold the wheel firmly and to prevent wheel
slippage. Excessive tightening may result in
damaging the wheel and springing the wheel
flanges.
15.
USE ONLY abrasive wheels rated at 3900 RPM
or higher.
16.
ALWAYS check the wheel for cracks or other
damage before operation. Replace cracked or
damaged wheel immediately.
17.
USE ONLY wheel flanges specified for your
machine.
SAFETY RULES FOR CHOP SAWS
18.
MAKE SURE abrasive wheel is not contacting
workpiece before switch is turned on.
19.
ALLOW the motor to come up to full speed
before starting cut.
20.
AFTER TURNING MACHINE ON, lower wheel
lightly until it comes into contact with the
workpiece and then draw wheel firmly though
the cut. DO NOT allow the wheel to chatter and
jump as this may cause the wheel to wear out of
round resulting in poor cutting and possible
broken wheels.
21.
ANY material can be cut more satisfactorily when
placed in position for the wheel to cut with the
least arc of contact.
22.
THE NUMBER of cuts per wheel, as well as the
quality of cut, may vary considerably with the
cutting time. Fast cuts cause the wheel to wear
more rapidly but also help to reduce
discoloration and burr. This is especially
noticeable when cutting light gauge tubing. When
coming through the bottom wall, with the longer
arc of contact, do not slow-up but give a vigorous
pull. This keeps the metal from overheating and
dragging off in a heavy burr.
23.
USE the wheel guard at all times.
24.
NEVER operate the machine in an area with
flammable liquids or gases.
25.
TO AVOID electric shock, do not use under
damp conditions or expose to rain.
26.
THIS tool is designed for ferrous metals only. DO
NOT attempt to cut wood, masonry, aluminium or
magnesium with this tool.
27.
AFTER installing a new wheel, never start the
tool with a person in line with the wheel.
ALWAYS run the tool for approximately one
minute before cutting. If the wheel has an
undetected crack or flaw, it could burst in less
than one minute.
28.
DISCONNECT from power supply before
servicing or adjusting tool.
29.
SHOULD any part of your machine be missing,
damaged or fail in any way, or any electrical
component fail to perform properly, shut-off
switch and remove plug from power supply
outlet. Replace missing, damaged or failed parts
before resuming operation.
- 5 -
