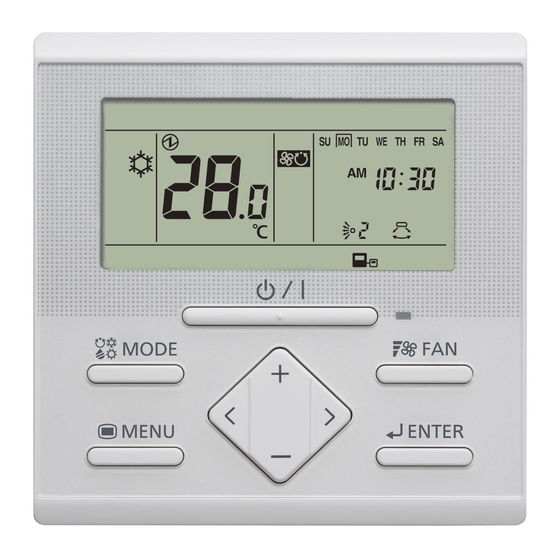
AirStage UTY-RLRY Manual de instruções - Página 7
Procurar online ou descarregar pdf Manual de instruções para Controlo remoto AirStage UTY-RLRY. AirStage UTY-RLRY 11 páginas. Wired remote controller

3. MENU 1 SETTINGS
(for Administrator)
(1) With "Monitor Mode
Screen" displayed, press
and hold the [
button and [
] button
simultaneously for at least
2 seconds. Setting item
selection screen is dis-
played.
(2) Select the icon of the item to be set with the [
button; press the [
Setting Screen. For details concerning settings, see the
description of the setting concerned.
3-1. Auto off timer setting (
3-2. Weekly timer setting (
3-3. Set temp. range setting (
3-4. Set temp. auto return setting (
(3) Returns to this screen after setting. Return to "Monitor
Mode Screen" if the [
pressed and held simultaneously for at least 2 seconds.
Note
Available setting items differ according to settings when
equipment is set up. Operation does not proceed to items
that cannot be set.
3-1. Auto off timer setting
(1) Select the icon of the Auto
Off Timer setting in Menu 1
Settings. Then press the
[
] button.
(2) Set enabled with the [
[
] buttons. Then Press
the [
] button.
If set to "Enable", proceed
to (3). If set to "Disable",
return to "Menu 1 Settings"
screen.
(3) Adjust the time with the [
or [
] buttons.
Note
Time can be set in 0.5 H units from 0.5 H to 4.0 H.
(4) Press the [
] button to return to the Menu 1 item
selection screen.
]
] or [
] button to switch to the
)
)
)
)
] button and [
] button
] or
: Disable
: Enable
]
3-2. Weekly Timer Setting
Note
• This function cannot be used if "The Setting of Using the
Current Time" is set to "Not used". To change to "Used",
consult an authorized service personnel.
Can be turned ON/OFF twice a day. OFF can be set the fol-
lowing day.
< Example of schedules >
]
(Hour)
: ↑
: ↓
(1) Select the icon of the
Weekly Timer setting in
Menu 1 Settings. Then
press the [
button.
● Set to enable or disable
(2) Set enabled with the [
[
] buttons. Then press
the [
If set to "Enable", proceed
to (3). If set to "Disable",
return to Menu 1 items
setting screen.
● Flow of schedule settings
Select a day of the week (or all days)
Make a schedule of Timer 1
Set the ON time
Select the operation mode
Adjust the temperature
Set the OFF time
Make a schedule of Timer 2
Set the ON time
Select the operation mode
Adjust the temperature
Set the OFF time
Return to Select a day of the week
*1: If the OFF time of Timer 1 is set on the next day.
*2: If you do not set the ON time of Timer 2.
A schedule of
A schedule of
the day
the next day
Timer 1
Timer 2
Timer 1
ON
OFF
ON
OFF
ON
]
] or
] button.
: Disable
: Enable
Timer 2
OFF
ON
OFF
*1
*2
En-6
