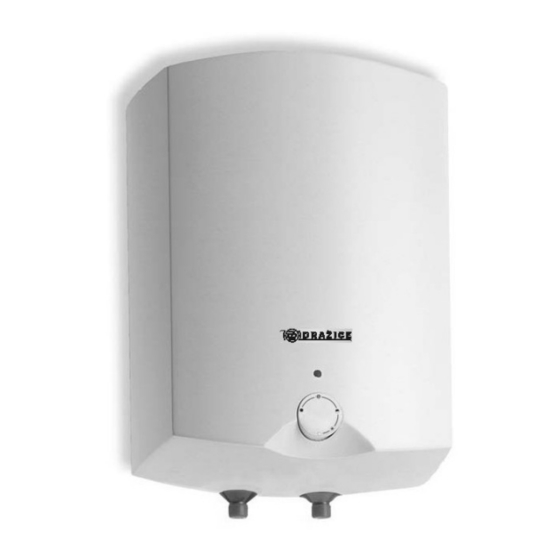
Drazice TO 10 IN Manual de operação e instalação - Página 4
Procurar online ou descarregar pdf Manual de operação e instalação para Aquecedor de água Drazice TO 10 IN. Drazice TO 10 IN 8 páginas. Electric water heater

7
PLUMBING FIXTURE
Water inflow and outflow is indicated with different colour terminals on the heater tubes. Cold water supply is
indicated with blue and hot water outflow is indicated with red. There are two ways of connecting the water heater to
water network. Closed, pressure connection system allows water withdrawal at multiple supply (withdrawal) points whilst
open flow system allows one supply (withdrawal) point only. With regard to the selected way of connection, you need to
purchase suitable combination faucets. For the open flow system you need to mount a return valve in front of the heating
element in order to avoid water outflow from the boiler if water supply gets discontinued. For this type of connection, you
have to use the flow combination faucet. Due to heating, the volume of water increases, which causes water dripping from
the combination faucet pipe. You will not prevent water from dripping by strong tightening of the combination faucet
valve but you may damage the combination faucet.
For the closed pressure connection system you need to use pressurised combination faucets at the withdrawal
points. You have to attach a safety valve to the filling pipe to avoid increase of pressure in the tank above the rated
pressure. During water heating in the heater, the water pressure in the tank increases until it reaches the limit set on the
safety valve.
Open (flow) system
The "above-supply-point" version
Provedení pod odběrné místo
Explanation:
1 – Safety valve
2 – Back pressure valve
3 – Test valve
4 – Reduction valve
5 – Shut-off valve
Safety valve is mounted on the cold water inlet identified with a blue ring. Each hot service water pressure heater must
have a safety valve with a membrane spring. Nominal clearance of safety valves is defined in the ČSN 0 60830 standard.
The safety valve must be well accessible, as near to the heater as possible. The input pipes must have at least the same
clearance as the safety valve. The safety valve is placed high enough to secure dripping water drain by gravity. We
recommend mounting the safety valve onto a branch pipe. This allows easier exchange without having to drain the water
from the heater. Safety valves with fixed pressure settings from the manufacturer are used for the assembly. Starting
pressure of a safety valve must be identical to the maximum allowed heater pressure, and at least 20% higher than the
maximum pressure in the water main. If the water main pressure exceeds such value, a reduction valve must be added to
the system. No stop valves can be put between the heater and the safety valve. During the assembly, follow the guide
provided by the safety equipment manufacturer. It is necessary to check the safety valve each time before putting it into
operation. It is checked by manual moving of the membrane from the seat, turning the make-and-break device button
always in the direction of the arrow. After being turned, the button must click back into a notch. Proper function of the
make-and-break device results in water draining through the safety valve outlet pipe. In common operation, such a check
needs to be implemented at least once a month, and after each heater shutdown for more than 5 days. Water may be
dripping off the drain pipe of the safety valve; the pipe must be open into the air, pointed down; environment
temperatures must not drop below zero. When draining the heater, use a recommended draining valve. First, close water
input into the heater.
Find necessary pressure values in the following table.
6 – Test adaptor
7.7a – Flow combination faucet
8 – Funnel with connector to drain from the safety valve
H – Cold water
T - Hot water
4
Closed (pressure) system
Provedení nad odběrné místo
The "below-supply-point" version
