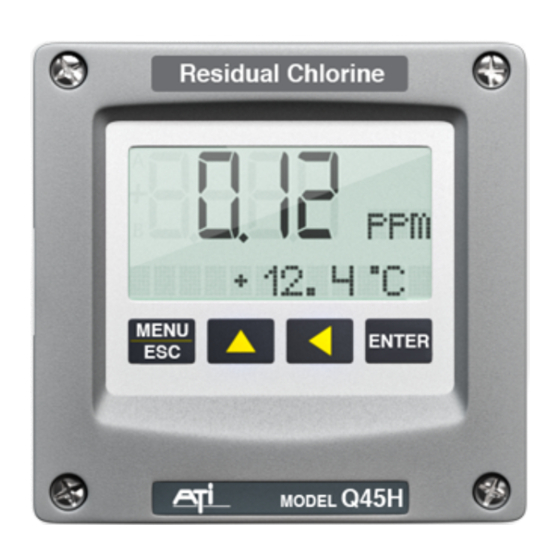
ATI Technologies Q45H/62 Manual - Página 3
Procurar online ou descarregar pdf Manual para Instrumentos de medição ATI Technologies Q45H/62. ATI Technologies Q45H/62 11 páginas. Free chlorine measurement system

Chlorine Sensor Preparation
The chlorine sensor supplied with the Q45H is shipped dry. It will not operate until it is prepared by adding
electrolyte and a membrane. Preparation of the sensor for operation must be done carefully. A qualified technician
should do the procedure and it should only be done when the system is ready for operation. Until then, it is best to
leave the sensor in the condition in which it is received.
Follow the procedure below to prepare the chlorine sensor for operation:
1. Unscrew the electrolyte chamber from the assembled sensor and also remove the fill screw from the side of the
sensor body.
2. Remove the silver membrane cap from the bottom of the chamber and discard the protective membrane. O-rings are
contained in grooves on both the bottom and top of the chamber. Be sure that these o-rings remain in place.
3. From the package of membranes supplied with the sensor, place a new membrane into the membrane holder. The
membrane can go in either side. Please try not to touch the centre of the membrane as greasy fingers can block the
micro-porous holes. The membrane is white in colour and is separated from other membranes by a light
blue paper spacer.
4. Screw the silver membrane cap on to the chamber until you feel the o-ring compress. Hand tight compression is all
that is needed. Do not use tools to tighten. The membrane should be flat across the bottom of the chamber without
wrinkles.
5. Fill the chamber with electrolyte until the level reaches the bottom of the internal threads. Add a drop more to be
sure that you have filled it fully.
6. Unscrew the small screw near the base of the sensor. Be careful not to lose the O ring attached. Slowly screw the
chamber onto the sensor body. A small amount of electrolyte will run out of the hole from which the fill screw was
removed. The electrolyte is harmless and will not irritate skin. IF NO ELECTROLYTE LEAKS, YOU MAY NOT HAVE PUT
SUFFICIENT IN THE ELECTROLYTE CHAMBER AND YOU MUST DO THIS AGAIN. Tighten the chamber until the o-ring
at the top of the chamber is compressed. Once again, do not use tools to tighten.
7. Shake excess electrolyte from the fill hole on the side of the sensor and replace the fill screw.
The membrane should be stretched tightly across the tip of the sensor. The sensor is now ready for connection to the
electronics. It should be left connected and either in the flow cell with chlorinated water or in beaker of water for at least
8 hours prior to operation.
the sensor as above, place some wet tissue into the red cap, push onto sensor end, push onto the polarizer and store
(remember to replace the membrane when using > 2 months after due to particulate forming on the membrane from the
wet tissue/material used.
Q45H Training Handout
A polarizer can be used to dramatically reduce the length of time required on start up. Build
Page 2 of 11
