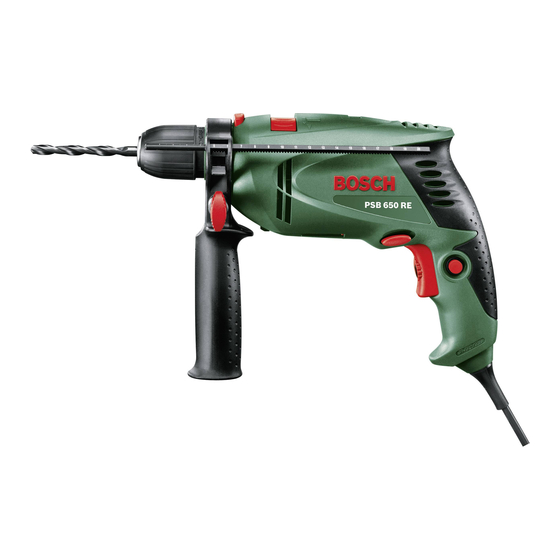
Bosch PSB 6500 RE Manual de instruções original - Página 13
Procurar online ou descarregar pdf Manual de instruções original para Ferramenta eléctrica Bosch PSB 6500 RE. Bosch PSB 6500 RE 16 páginas.

OBJ_BUCH-911-002.book Page 25 Monday, September 7, 2009 1:08 PM
Replacing the Drill Chuck
(PSB 750 RCE/PSB 750 RCA)
Removing the Drill Chuck (see figure J)
Clamp the short end of an Allen key 25 into the
keyless chuck 2.
Place the machine on a stable surface, e. g. a
workbench. Hold the machine firmly and loosen
the keyless chuck 2 by turning the Allen key 25
in rotation direction
. Loosen a tight seated
keyless chuck by giving the long end of the Allen
key 25 a light blow. Remove the Allen key from
the keyless chuck and completely unscrew the
keyless chuck.
Mounting the Drill Chuck (see figure K)
The keyless chuck is mounted in reverse order.
The drill chuck must be tightened with a
tightening torque of approx. 25–35 Nm.
Replacing the Drill Chuck (PSB 650 RE/
PSB 6500 RE/PSB 650 RA)
Removing the Drill Chuck (see figure L)
Clamp the short end of an Allen key 25 into the
keyless chuck 2.
Place the machine on a firm surface, e. g. a
workbench. Hold the machine firmly, press the
spindle lock button 24 and loosen the keyless
chuck 2 by turning the Allen key 25 in rotation
direction
. Loosen a tight keyless chuck by giv-
ing the long end of the Allen key 25 a light blow.
Remove the Allen key from the keyless chuck
and completely unscrew the keyless chuck.
Mounting the Drill Chuck (see figure M)
The keyless chuck is mounted in reverse order.
The drill chuck must be tightened with a
tightening torque of approx. 25–35 Nm.
Bosch Power Tools
Operation
Starting Operation
Observe correct mains voltage! The voltage
of the power source must agree with the
voltage specified on the nameplate of the
machine. Power tools marked with 230 V
can also be operated with 220 V.
Reversing the Rotational Direction
(see figures N–O)
The rotational direction switch 7 is used to re-
verse the rotational direction of the machine.
However, this is not possible with the On/Off
switch 8 actuated.
Right Rotation: For drilling and driving in
screws, push the rotational direction switch 7
left to the stop.
Left Rotation: For loosening and unscrewing
screws and nuts, press the rotational direction
switch 7 through to the right stop.
Setting the Operating Mode
Drilling and Screwdriving
Set the selector switch 4 to the "Drill-
ing" symbol.
Impact Drilling
Set the selector switch 4 to the "Im-
pact drilling" symbol.
The selector switch 4 engages noticeably and
can also be actuated with the machine running.
Switching On and Off
To start the machine, press the On/Off switch 8
and keep it pressed.
To lock the pressed On/Off switch 8, press the
lock-on button 6.
To switch off the machine, release the On/Off
switch 8 or when it is locked with the lock-on
button 6, briefly press the On/Off switch 8 and
then release it.
Adjusting the Speed/Impact Frequency
The speed/impact rate of the switched on pow-
er tool can be variably adjusted, depending on
how far the On/Off switch 8 is pressed.
English | 25
2 609 004 159 | (7.9.09)
