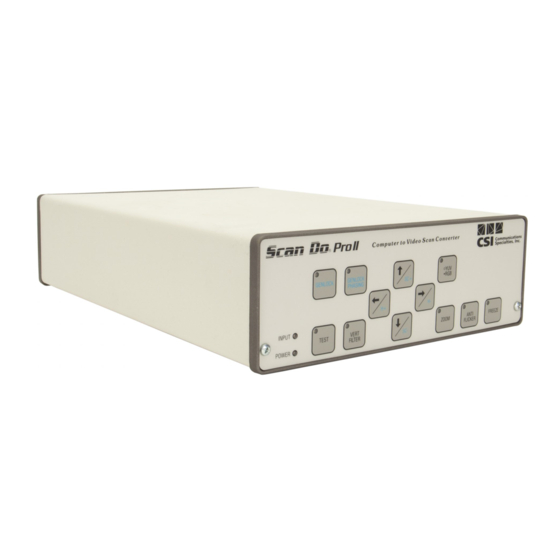
Communications Specialties Scan Do Pro II Manual do utilizador - Página 6
Procurar online ou descarregar pdf Manual do utilizador para Conversor de multimédia Communications Specialties Scan Do Pro II. Communications Specialties Scan Do Pro II 15 páginas. High resolution computer-to-video scan converter with genlock and optional sdi output (scan do pro ii/d)

DIAGNOSTIC LEDS:
VGA AND MAC RESOLUTIONS
SUPPORTED:
HOW TO ACTIVATE
TEST SIGNALS:
COLOR BARS WHEN TEST IS
NOT ACTIVATED:
SIZING THE IMAGE:
Page 6
OPERATION
S
can Do Pro II not only offers high performance and reliability, but
also provides an extremely easy, intuitive user interface. Please read this
section in its entirety. If, after becoming familiar with the unit's operation
and features, you still have questions and need to contact us, please refer to
Page 3 for our phone, fax, email and web address.
Power:
This indicator tells when power is present and
Scan Do Pro II is ON. If this light is glowing dim or not at all, it is an indication
that something might be wrong with the internal power supply.
Input: This indicator tells when a valid computer signal is present at the VGA
In or Mac In connector on the rear panel.
Scan Do Pro II will support any computer resolution having a horizontal sync
frequency within the range of 31-71 kHz. Generally, this will include PCs up to
1280 x 1024 at 60 Hz. Interlaced resolutions are not supported.
Test: This button will force Scan Do Pro II to generate a color bars test signal
on its outputs. Press once to activate it. Press it again to turn it off. The green
LED on the Test button indicates when the test pattern generator is in operation.
From time to time, your Scan Do Pro II may output color bars even though you
have not pushed the Test button on the front panel. If your unit is generating
color bars but the LED on the Test button is not illuminated, there is either no
input signal from the computer or the input signal from the computer is not in
a resolution or mode supported by Scan Do Pro II.
Zoom: The zoom feature performs two important functions. First of all, it
provides an "underscan" function, which shrinks the image display both
horizontally and vertically by 15%. This ensures that no edges of your image are
lost beyond the borders of your screen when converted to a TV video format.
Secondly, the zoom feature provides three
settings which enlarge your image display
while also enhancing its resolution. By
repeatedly pressing the zoom button, you can
cycle through the different image sizes shown
on the chart to the right.
Zoom Shortcut Buttons: Scan Do Pro II provides the option to go directly
to three of the zoom settings using the following button combinations. Both
buttons must be pushed simultaneously to access this feature.
Zoom Ratio
85%
(lowest zoom; "underscan mode")
100%
(standard "overscan mode")
200%
(highest zoom mode)
Scan Do Pro II User's Manual
Zoom Ratio
Indicator LED
85%
ON
100%
OFF
130%
ON
160%
ON
200%*
ON
*The 200% zoom ratio may not be available
at the highest input frequency.
Button Combination
ZOOM & ↓ ↓ ↓ ↓ ↓
ZOOM & → → → → →
ZOOM & ↑
