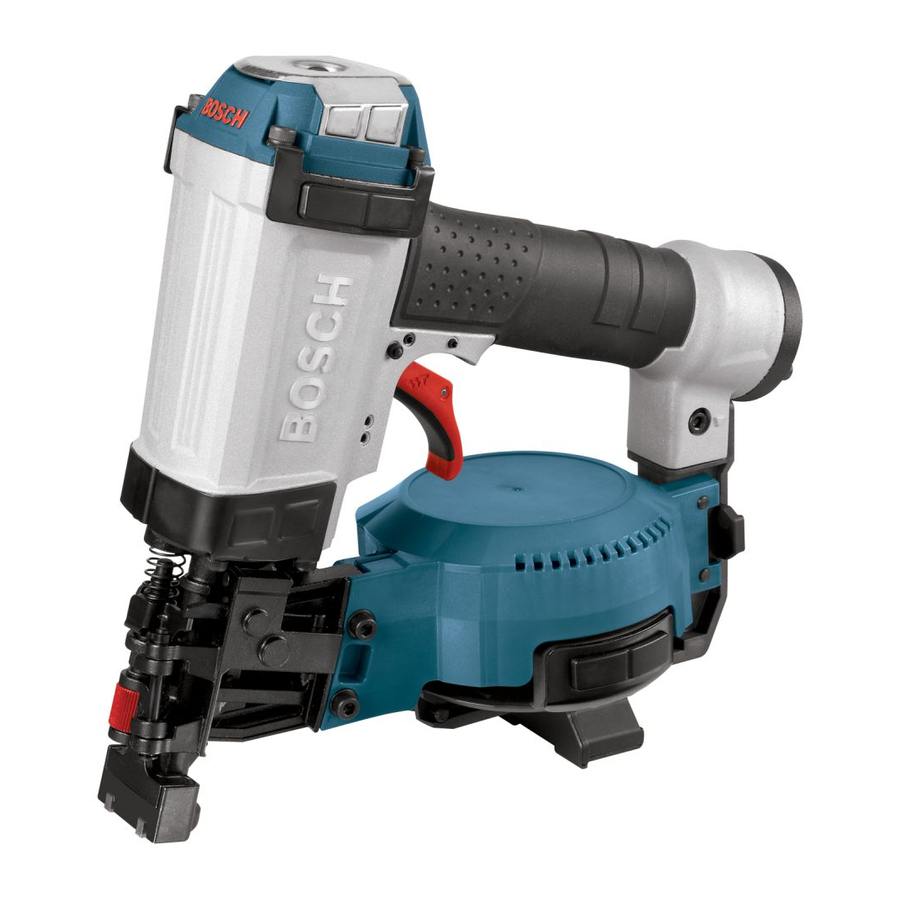
Bosch RN175 Manual de instruções de funcionamento/segurança - Página 11
Procurar online ou descarregar pdf Manual de instruções de funcionamento/segurança para Ferramenta eléctrica Bosch RN175. Bosch RN175 43 páginas.

BM 2610957383 06-09:BM RN175 03-09 6/22/09 8:01 AM Page 11
Cold Weather Operation
When using the tool in cold conditions the tool will cycle
slower than usual while driving the first nails. The cycle rate
will increase as the tool warms up. Keep tool warm to avoid
reduced cycle rate.
Do not use a frozen tool. Allow tool to thaw
W RNING
before using. Moisture frozen in the tool may
impede internal components resulting in the risk of injury
and/or tool damage.
Nail Unloading
Always disconnect tool from air supply
W RNING
before removing nails from magazine.
This avoids the risk of unintentional operation.
Do not disconnect air hose from the tool
W RNING
with finger on trigger or work contact
element depressed. The tool can fire when reconnected to
air supply.
1. Disconnect air supply.
2. Push the magazine latch and open the magazine door.
3. Remove nails from magazine.
4. Close the magazine.
Depth of Drive Adjustment
The depth with which nails are driven into the work piece
can be adjusted using the depth adjustment on the nose
piece of the tool, figure 11.
Disconnect the tool from the air source
W RNING
before making adjustments. Such
precautionary safety measures reduce the risk or
unintentional tool operation.
1. Disconnect tool from air supply.
2. Remove nails from tool as described in the "Nail
Unloading" section of this manual.
3. Adjust tool driving depth:
• To reduce the nail depth, turn the adjustment knob
counter clockwise, see figure 12.
• To drive the nail deeper, turn the adjustment knob
clockwise, see figure 13.
4. Reload nails as described in the "Nail Loading" section of
this manual.
5. Reconnect air supply
Know what is behind your work piece.
W RNING
Do not fire nails into walls or floors
without assuring the area on the opposite side is clear.
A nail could travel through the work piece, striking someone.
Operation
FIG. 11
FIG. 12
Too Deep
Turn the adjustment knob counter clockwise.
FIG. 13
Too Shallow
Turn the adjustment knob clockwise.
11
djustment
Knob
Work Contact
Element
Flush
Flush
