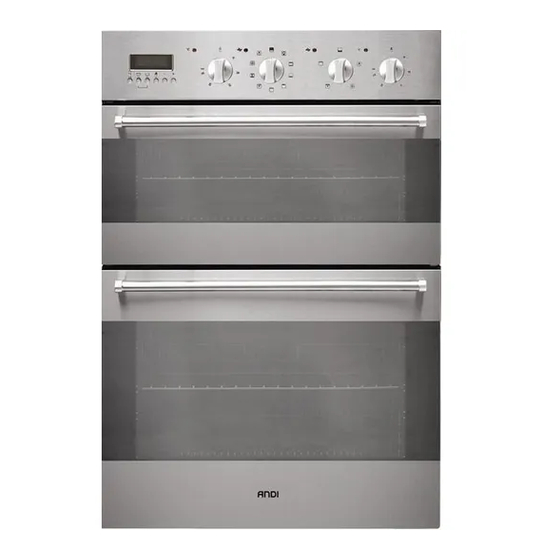
ANDI ASX100MTPC2X Instruções de utilização e cuidados, instalação - Página 4
Procurar online ou descarregar pdf Instruções de utilização e cuidados, instalação para Forno ANDI ASX100MTPC2X. ANDI ASX100MTPC2X 16 páginas. Electric built-in ovens

OVEN DOOR:
To remove and replace the Oven Door, please follow procedures here below;
REMOVING OVEN DOOR:
Fully open the oven door. – Raise the U-clip over the hook on each of the hinges to the "locked" position, see figure 5
and 6. This will prevent the hinge from snapping closed when the door is removed. – Grasp the door by the sides toward
the back. – Raise the front of the door several centimetres (there will be some spring resistance to overcome because of
the hinge being locked). – When the front of the door is high enough, you will be able to lift the hinges to clear the
indents. – Pull the hinges out of the slots in the oven front frame.
TO REPLACE THE OVEN DOOR:
Grasp the sides of the door at the centre and inert the ends of the hinges into the slots in the oven front frame as far as
they will go, see figure 1 and 2. – With the door open all the way, lower the two locking clips. – Raise the oven door
and make sure that it fits evenly with the front sides.
WARNING. Never release the U-clip levers when the door is off. Do not close the hinges without the weight of the
door, the powerful springs will snap the hinges closed with great force.
CAUTION: Do not place excessive weight on or stand on an open oven door. This could break the door or injure the
user. Also, do not attempt to open or close door or operate oven until door is properly replaced.
REPLACING THE OVEN LIGHT
WARNING; To prevent electrical shock and/or personal injury read follow this procedure:
Before replacing the light bulb, be sure the electric power is turned off at the circuit breaker.
Be sure the oven and light bulb are cool. Then remove light cover A by unscrewing it. Figure 3.
Do not touch hot bulb with a damp cloth as this may cause the bulb to break.
Replace light bulb with a 25 W 240 V ~ 50 Hz oven appliance bulb only. Figure 3.
If the light cover is damaged or broken, do not use the oven until a new cover is in place.
Do not operate the oven unless the light cover is securely in position.
OVEN USE GUIDES
CONTROL PANEL.
Please take a look at figure n° 4.
NOTE: FUNCTIONS and FUNCTION MODE LAYOUT vary depending on model.
A = Selector knob
B = ON and OFF Power indicator light
C = Locked Oven Door (key. only on Pyrolytic oven)
D = Electronic Programmer
E = Pyrolytic cycle (only on Pyrolytic oven)
F = ON and OFF Thermostat indicator light
G = Thermostat knob control
IMPORTANT:
When using the oven for the first time. let it work empty for 30 minutes with thermostat set at 200 °C. if possible
leaving the kitchen windows open. When lit for the first time the oven gives off unpleasant smells due to manufacturing
residue such as grease. oil or resin.
ON AND OFF PILOT LIGHT
Whenever is on it means the oven is electrically powered and functioning. see figure 5.
TEMPERATURE PILOT LIGHT
It turns on and off to indicate the elements are turning on and off to maintain the desired oven temperature. see fig. 6.
4
9880018600 E OVEN ANDI 05-2007
