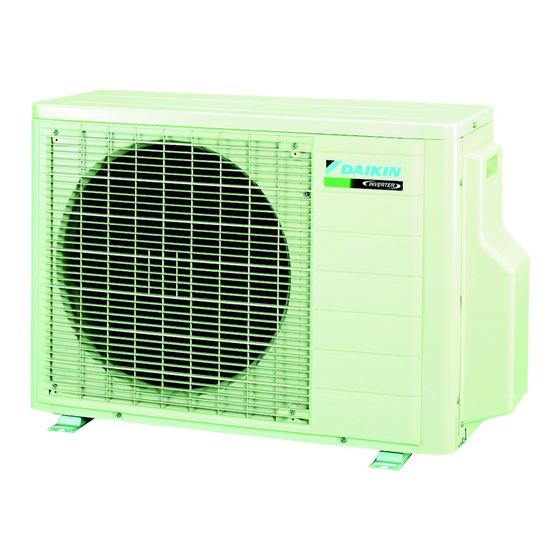
Daikin 2AMX40G3V1B Manual de instalação - Página 10
Procurar online ou descarregar pdf Manual de instalação para Bomba de calor Daikin 2AMX40G3V1B. Daikin 2AMX40G3V1B 20 páginas. Split series

Refrigerant Piping Work
1.
Installing outdoor unit
1) When installing the outdoor unit, refer to "Precautions for Selecting the Location" on page 2 and the "Indoor/Outdoor Unit
Installation Drawings" on page 3.
2) If drain work is necessary, follow the procedures below.
2.
Drain work (only heat pump models)
1) Use the drain plug for drainage.
2) If the drain port is covered by a mounting base or floor surface, place
additional foot bases of at least 30mm in height under the outdoor
unit's feet.
3) In cold areas, do not use a drain hose with the outdoor unit.
(Otherwise, drain water may freeze, impairing heating performance.)
3.
Refrigerant piping
CAUTION
• Use the flare nut fixed to the main unit. (To prevent cracking of the flare nut by aged deterioration.)
• To prevent gas leakage, apply refrigeration oil only to the inner surface of the flare. (Use refrigeration oil for R410A.)
• Use torque wrenches when tightening the flare nuts to prevent damage to the flare nuts and gas leakage.
Align the centres of both flares and tighten the flare nuts 3 or 4 turns by hand. Then tighten them fully with the torque wrenches.
Flare nut tightening torque
Flare nut for φ6.4
Flare nut for φ9.5
Flare nut for φ12.7
■English
[Apply oil]
Do not apply refrigeration
oil to the outer surface.
Flare nut
Do not apply refrigeration oil to
the flare nut to avoid tightening
with excessive torque.
14.2-17.2N m
(144-175kgf cm)
3/8 inch
32.7-39.9N m
21.6-27.4N m
(220-280kgf cm)
(333-407kgf cm)
49.5-60.3N m
(505-615kgf cm)
Bottom frame
Drain plug
Hose (available commercially,
inner dia. 16mm)
Apply refrigeration oil to
the inner surface of the
flare.
Valve cap tightening torque
Gas side
1/2 inch
48.1-59.7N m
21.6-27.4N m
(490-610kgf cm)
(220-280kgf cm)
Service port cap tightening torque
10.8-14.7N m (110-150kgf cm)
Drain-water hole
Liquid side
1/4 inch
6
