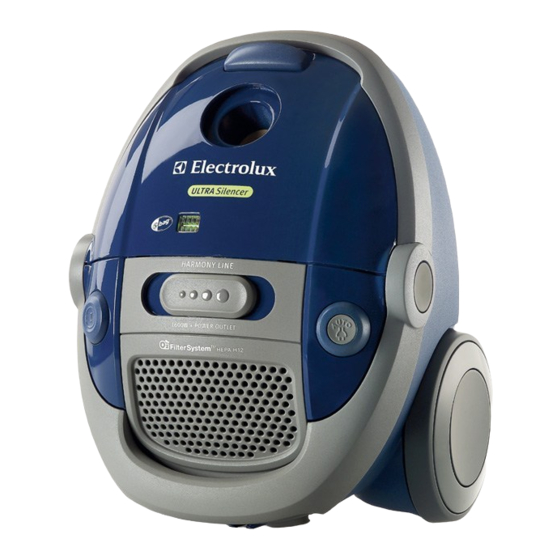
Electrolux ZUS3383 Manual de Instruções - Página 6
Procurar online ou descarregar pdf Manual de Instruções para Aspirador de pó Electrolux ZUS3383. Electrolux ZUS3383 10 páginas. Ultra silencer vacuum cleaner

1
4
6
9
2 1
12
2193042-03.indd 12
A
B
2
5a
7
10
3 1
English
REPLACING THE DUST BAG, S-bag®
1
The dust bag, s-bag® must be replaced latest when
the indicator window is completely red. Read with the
nozzle lifted up.
2
Fold down the carrying handle. Press the catches on
the hose, remove the hose and open the cover.
3
3
Lift out the insert holding the s-bag®.
4
Pull the cardboard to remove the s-bag® from the
insert. This automatically seals the s-bag® and prevents
dust leaking out.
5 a
Insert a new s-bag® by pushing the cardboard right
into the end of the groove in the insert.
5 b
Attach the insert by placing it on the back pegs in the
bag compartment. Then fold down the insert and close
the cover.
Note. Replace the s-bag® even if it is not full (it could be
obstructed). Also replace after vacuuming carpet-cleaning
5b
powder. Be sure to use only an original Electrolux dust bags,
s-bag® Classic or s-bag® Clinic.
Replacement of the motor filter (Ref.
No. EF54)
should be done with every 5th replacement of the dust bag,
s-bag®
6
Fold down the carrying handle. Press the catches,
remove the hose and open the front cover.
7
Lift out the insert holding the s-bag®.
8
Pull the motor filter holder upwards until it comes away
from the groove.
8
9
Carefully pull the old, dirty filter out of the filter holder
and replace it with a new motor filter.
10
Reattach the filter holder containing the new motor
filter.
11
Replace the insert holding the s-bag® and then close
the cover.
Replacement of the exhaust filter
should be done with every 5th replacement of the dust bag,
s-bag®
11
There are three types of exhaust filter:
• Micro filter* (Ref. No. EF 17)
• Hepa H12* non washable (Ref. No. EF H12)
• Hepa H12* washable (Ref. No. EF H12W)
The filters must always be replaced with new ones and
cannot be washed (except the Hepa H12* washable)
12
Fold up the carrying handle until it clicks into place.
13
Place your thumbs on the back edge of the lid and
then open the lid by pulling the handle backwards and
upwards with your index/middle finger.
14
Lift out the filter. Insert a new filter and replace the lid
as shown.
14
*Certain models only
12/6/07 4:34:55 PM
