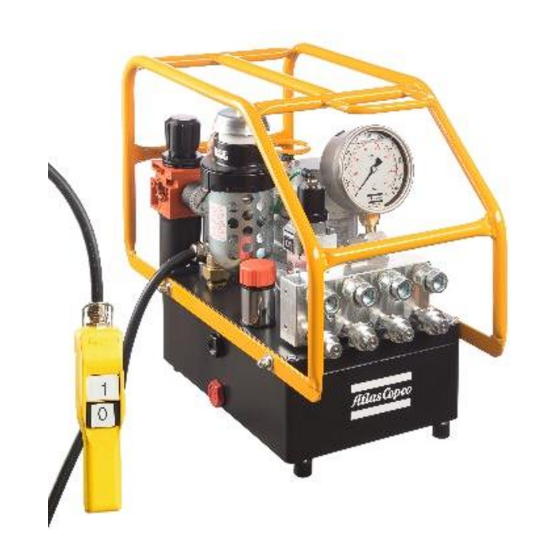
Atlas Copco RT Manual do utilizador - Página 11
Procurar online ou descarregar pdf Manual do utilizador para Ferramentas Atlas Copco RT. Atlas Copco RT 16 páginas. Square drive hydraulic torque wrench system

SYMPTOM
PROBABLE CAUSE
Gauge shows pressure
Couplings are loose or not working Solenoid
build-up but the tool will
is not working
not cycle
1. See above.
Cylinder will not retract
2. Voltage to electric pump is too low to line
drop or inadequate amperage is
available.
3. Linkage between piston rod and drive
pawl are broken.
Cylinder pressure will not
1. Oil blow by in tool (Piston seal leak, blown
build
O-ring, cracked piston)
2. Pump Problem.
Cylinder/tool leaks
1. Safety relief valve on swivel has lifted.
2. Blown O-ring in cylinder.
3. Defective gland seal.
Tool operates backwards 1. Couplings reversed.
2. Multiple hoses in even numbers.
Ratchet returns with
1. Broken or otherwise inoperable reaction
retract stroke
pawl.
Ratchet will not take
1.
successive strokes.
2.
3.
Tool locks onto nut.
1.
2.
3.
Gauge records no
1. Gauge connection is loose.
pressure
2. Bad gauge.
3. Pump will not build pressure.
Broken or otherwise inoperative drive
pawl or spring.
Cylinder not retracting completely.
Ratchet will not take successive
strokes.
Linkage between piston rod and drive
plates is broken.
Reaction pawl is loaded when the tool
is maxed out in torque.
Tool is operating backwards.
Tool is wedged under a fixed object.
REQUIRED ACTION
Tighten and/or replace couplings. Use Test #1 to isolate
problem Use test #2. if not working replace solenoid
1. See above.
2. Get shorter extension cord or upgrade to 12AWG, 25 amp
rating or better. If shop power is adequate, draw power
from welding machine or cal rod transformer.
3. Replace parts as necessary.
1.Replace defective parts. SHOP JOB
2. Remove screws from pump motor to reservoir, slide pump
motor to the back while keeping pistons into oil. Turn pump on.
If you have no oil coming out from the solenoid tube, change
the solenoid.
2A. Tight the regulating valve to maximum, Push on the
advance button and while holding down, look if any oil is
coming out from the regulating tube. If oil is coming out, change
the regulating valve.
2B If pump sounds like a lot of pebbles in a tin can, the
problem may be a worn motor coupling-remove motor from
base plate-using a pair of needle nose pliers removes the
motor coupling-if worn replace. SHOP JOB.
2C AIR PUMP-Fault FLR due to excessive moisture and/or dirt
in air supply. Disassemble and change. SHOP JOB.
2D. Air pumps- Faulty remote control vv valve cartridge.
Replace.
1A Tighten all hose and couplers. If leak continues, adjust
safety setting – Test #4.
1B Check to see if the system is properly plumbed by running
test #5 (high pressure on retract side will lift the safety relief
valve).
2. Replace O-Ring with proper high pressure O-Ring. SHOP
JOB.
3. Replace gland seal. SHOP JOB.
1. Run test #5. Replumb system as necessary.
2. As plumbed, Atlas Copco hoses may only be joined
together in odd numbers ONLY if it is necessary to use 2, 4,
6 hoses-make an adapter from spare high pressure
couplings and nipples.
1.
Replace drive pawl and/or spring. SHOP JOB.
2.
Remove tool from nut and cycle freely for several strokes.
If problem persists, check pawls.
2A
Operator not allowing adequate time for cylinder to retract
fully
3.
Replace parts as necessary -SHOP JOB.
1.
Press advance button on remote and build pressure-
continue to press down on remote while pulling back on
one of the disengagement levers- release remote while
continuing to hold back on levers.
2.
Push advance button down-tool should immediately fall
free- Run test #5.
3.
Remove shroud from around ratchet. Using any tool
available, pry the drive pawl out of the ratchet and at the
same time pull back on the disengagement levers. Tool
should swing free or turn away the socket or obstruction.
1.
Tighten coupling.
2.
Replace gauge.
3.
See cylinder will not build pressure above.
4.
Replace defective seals. SHOP JOB.
11
