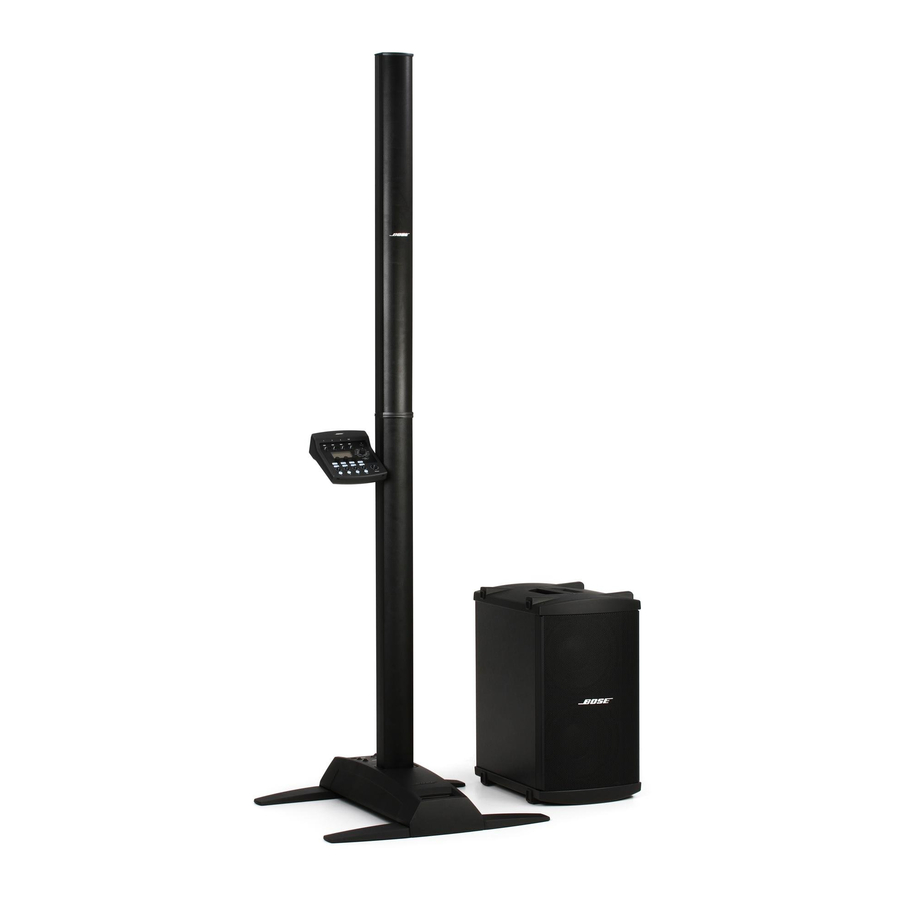
Bose L1 Model II Manual do Proprietário - Página 16
Procurar online ou descarregar pdf Manual do Proprietário para Sistema estéreo Bose L1 Model II. Bose L1 Model II 32 páginas. Portable line array systems
Também para Bose L1 Model II: Manual do Proprietário (32 páginas), Manual do Proprietário (28 páginas), Ficha de dados técnicos (8 páginas), Ficha de dados técnicos (8 páginas), Manual de aplicação (13 páginas), Manual (15 páginas)

S
ETUP
Product assembly
1. Place the L1 model I power stand on the floor.
Place it on a flat, dry, stable surface at the rearmost part of
the stage, handle facing forward, behind the performer.
WARNING: The completed unit
weighs about 60 lb (27 kg).
Moving the completely
assembled unit is not
recommended.
For placement guidelines, see
"Placing the product in the
right location for your perfor-
mance" on page 15.
2. Insert the bottom section of the
L1 model I Cylindrical Radiator
loudspeaker into the L1 model I
power stand. You should hear a soft
click when it is properly seated and
locked in place.
Note: Electrical connections
between the L1 model I
power stand and L1 model I
Cylindrical Radiator
loudspeaker are made
automatically as you
assemble the product.
3. Mount the top section of the L1 model I
®
Cylindrical Radiator
loudspeaker. Place one foot on
the L1 model I power stand to support your back. Insert
the bayonet on the top section into
the channel that runs along the back
of the bottom section. Lower the top
section until it is flush with the top of
the bottom section. You should hear
a soft click as the top section locks
in place.
16
®
®
4. Connect the R1 remote control to the L1 model
I power stand. Plug the R1 remote control cable into
either end of the remote. Plug the other end into the
Remote jack on the L1 model I power stand.
5. Place the R1 remote control within reach of
your performance position. This will allow you to
both hear your performance and to control it directly.
Note: If you power up the system without the R1 remote
control, it will function as if all the knobs on the R1 remote
control are at center position (12 o'clock).
6. Plug in the L1 model I power stand and turn it
on. Plug the female end of the power cord into the AC
Mains jack on the L1 model I power stand. Plug the
other end into an AC (mains) receptacle.
CAUTION: Bose recommends using a quality surge
suppressor on all electronic equipment. Voltage
variations and spikes can damage electronic
components in any system. A quality suppressor,
which can eliminate the vast majority of failures
attributed to surges, may be purchased at
electronics stores.
Your L1™ model I system is now set up
and ready for the addition of other
equipment.
• See "Using an effects processor" on page 25.
