Bose Lifestyle Music Center Manual de instalação - Página 12

Procurar online ou descarregar pdf Manual de instalação para Sistema estéreo Bose Lifestyle Music Center. Bose Lifestyle Music Center 44 páginas. Home entertainment systems with vs-2 video enhancer
Também para Bose Lifestyle Music Center: Manual de instruções (48 páginas), Manual de instruções (48 páginas), Manual de instalação (38 páginas), Manual do Proprietário (19 páginas), Manual do Proprietário (29 páginas), Manual do Proprietário (42 páginas), Informações de configuração (1 páginas), Manual do Proprietário (26 páginas), Manuallines de expansão (38 páginas), Manual de instruções (42 páginas), Manual de instruções (48 páginas), Manual de instruções (46 páginas), Manual do Proprietário (12 páginas), Manual de início rápido (8 páginas), Manual de instalação (30 páginas), Manual de instalação (39 páginas)
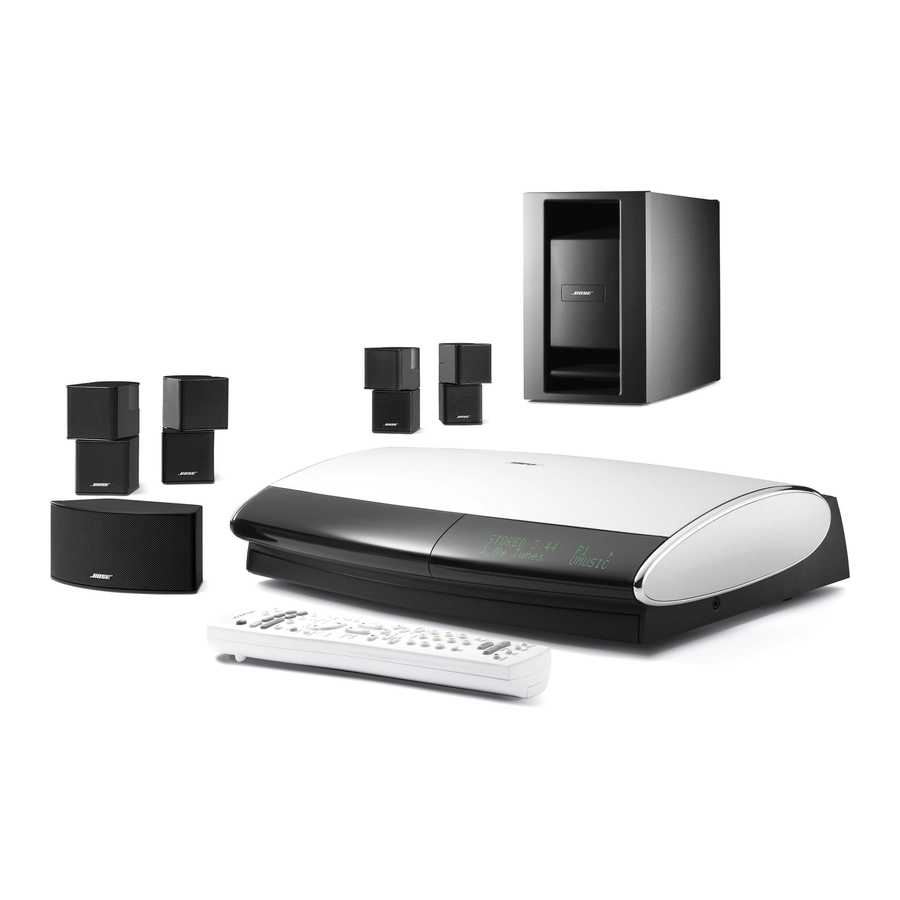
Bose Lifestyle Music Center Manual de instalação
Svenska
Nederlands
B
S
ASIC
YSTEM

Connecting speaker cables to the module

Jewel Cube speaker
Jewel Cube
horizontal center speaker
Figure 8
Plug-in connections to
these speakers
12
Italiano
Français
Svenska
C
ONNECTIONS
DVD system includes five small speakers. The type of speakers in your !
®
Your LIFESTYLE
system determines how the supplied cables connect to them.
• For Jewel Cube
®
speakers, follow the instructions below.
• For single cube or cube array speakers, follow the instructions on page 13.

Connecting the Jewel Cube

The supplied cables feature a plug-in connector that ensures proper polarity (+ to + and !
– to –) connections.
• Use the supplied 20-ft (6.1 m) cables for the three front speakers.
• Use the supplied 50-ft (15.2 m) cables for the speakers at the rear of your room. !
After running these cables to the rear of your room, you can unzip them by simply pulling
them apart. This makes it is easy to reach each of the rear speakers.
To make the connections:
1. Notice the marking on each cable plug and match it to the speaker in that location:
• Front speaker cable plugs have L (left), R (right), and C (center) markings.
• Rear speaker cable plugs have LR (left rear) and RR (right rear) markings.
2. Orient the plug with its small knob up, so the plug slips easily into a notch on top of the
jack on the back of each speaker (Figure 8).
3. Insert the plug fully into the jack on the rear of its respective speaker.!
For example, the plug marked L connects to the speaker at the left front of your room.
R, L,
RR, or LR
Cable plug
4. Follow the instructions on page 13 to connect each cable to the corresponding jack on
®
the Acoustimass
module.
Nederlands
Español
Français
Deutsch
Italiano
®
speakers
Knob up
C
Deutsch
Español
Dansk
English