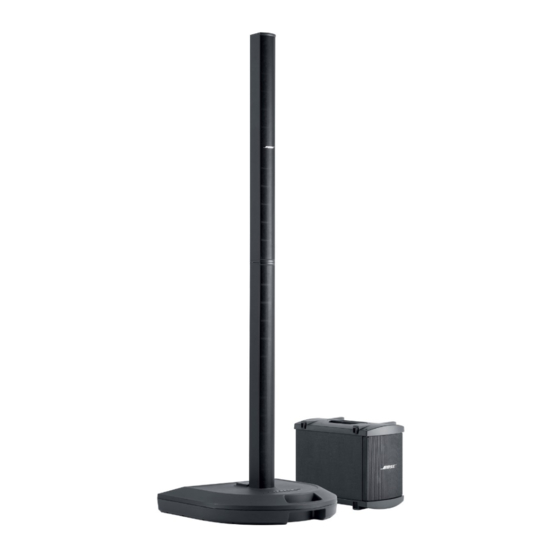
Bose Personalized Amplification System Manual de resolução de problemas - Página 28
Procurar online ou descarregar pdf Manual de resolução de problemas para Sistema estéreo Bose Personalized Amplification System. Bose Personalized Amplification System 50 páginas.
Também para Bose Personalized Amplification System: Manual do Proprietário (28 páginas)

3. Channel 1 and 2 Mic Input Signal to
Noise Ratio (Dynamic Range) Tests
3.1 Place a 1/4" mono shorting plug into the
Amp 2 IN and Amp 3 IN jacks on the right
hand side of the input/output panel. This will
disable the channel 2 and 3 amplifiers while
testing the channel 1 amplifier.
3.2 On the left hand side of the input/output
panel, set the channel 1 Mic Trim control to
the 6 setting. Ensure that the Line In +20dB
gain and the Phantom Power push buttons
are not pushed in.
3.3 Using a balanced XLR male input cable,
apply a 1 kHz, -30dBV signal to the channel
1 input.
3.4 Reference a dB meter to the output level
at the Amp 1 OUT jack. Remove the input
signal and measure the A-Weighted output
level. It should be -80dB minimum.
3.5 Move the shorting plug from the Amp 2
IN jack to the Amp 1 IN jack and repeat
steps 3.1 to 3.4 for the channel 2 Mic input.
4. Channel 1 and 2 Line Input Gain Tests
4.1 Place a 1/4" mono shorting plug into the
Amp 2 IN and Amp 3 IN jacks on the right
hand side of the input/output panel. This will
disable the channel 2 and 3 amplifiers while
testing the channel 1 amplifier.
4.2 On the left hand side of the input/output
panel, set the channel 1 Mic Trim control to
the 6 setting. Ensure that the Line In +20dB
gain and the Phantom Power push buttons
are not pushed in.
4.3 Using an unbalanced 1/4" phono jack
input cable, apply a 1 kHz, -10dBV signal to
the channel 1 input.
TEST PROCEDURES
28
4.4 Reference a dB meter to the input level.
Measure the gain output at the Amp 1 OUT
jack. It should be +28.5 dB + 4dB.
4.5 Move the shorting plug from the Amp 2
IN jack to the Amp 1 IN jack and repeat
steps 4.1 to 4.4 for the channel 2 Line input.
5. Channel 1 and 2 Line Input Frequency
Reponse and Distortion Tests
5.1 Place a 1/4" mono shorting plug into the
Amp 2 IN and Amp 3 IN jacks on the right
hand side of the input/output panel. This will
disable the channel 2 and 3 amplifiers while
testing the channel 1 amplifier.
5.2 On the left hand side of the input/output
panel, set the channel 1 Mic Trim control to
the 6 setting. Ensure that the Line In +20dB
gain and the Phantom Power push buttons
are not pushed in.
5.3 Using an unbalanced 1/4" phono jack
input cable, apply a 1 kHz, -10dBV signal to
the channel 1 input.
5.4 Use an 80kHz low-pass filter on your
measuring equipment. Reference a dB
meter to the input level. Measure the fre-
quency response at the Amp 1 OUT jack.
It should be 0dB + 3dB from 30Hz to 15kHz.
5.5 Measure the Total Harmonic Distortion
(THD) level at the Amp 1 OUT jack. It should
be 0.25% max at 1kHz and 1.5% max at
15kHz.
5.6 Move the shorting plug from the Amp 2
IN jack to the Amp 1 IN jack and repeat
steps 2.1 to 2.5 for the channel 2 Line input.
