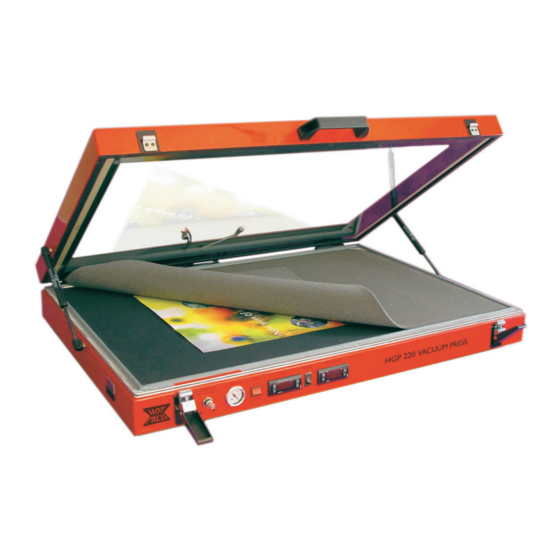
Drytac HOT PRESS HGP260 Manual do utilizador - Página 11
Procurar online ou descarregar pdf Manual do utilizador para Ferramenta eléctrica Drytac HOT PRESS HGP260. Drytac HOT PRESS HGP260 19 páginas. Heated glass top vacuum press
Também para Drytac HOT PRESS HGP260: Manual do operador (19 páginas)

HOT PRESS USERS MANUAL
FUNDAMENTALS OF DRYMOUNTING
Dry mounting an image to a substrate can be performed in a variety
of ways and varies according to the nature of the mounting substrate,
mounting adhesive and the print, photo or artwork being mounted.
However, the basic methods described below will provide excellent
results for most standard applications.
1. Set the vacuum press to reach an operating temperature of
185°F (85°C)*.
2. Cut a piece of dry mounting tissue slightly larger (on all sides)
than the work to be mounted.
3. Place your print face down onto a clean work surface and
cover with the dry mounting tissue. Lightly tack the tissue to the
back of the print with a tacking iron. To avoid adhesive build-
up on the tacking iron, tack through silicone release paper/fi lm,
shiny side toward the tissue. Trim the excess tissue.
4. Place the print, with the tissue attached, onto the mounting
substrate. Lift the opposite end of the print/mounting tissue
and tack the mounting tissue side directly onto the mounting
substrate.
5. Place the three components into the press between two
sheets of release paper/fi lm for approximately 30 seconds to
3 minutes*– from the time the press has achieved the desired
pressure setting.
* Your actual settings will vary according to the size of the press, type
of dry mounting tissue, the type of mounting substrate, the artwork
material used (in terms of material and the size of the print). See
individual product specifi cations for recommended dwell times.
Note: Clear release fi lm or silicone release paper must be placed on
top of the "mounting package" to prevent any exposed adhesive from
sticking to the glass.
Illustration 11A: Top to bottom material
placement order in press
PROCESSING TIPS:
• Maximum vacuum pressure is
• We recommend silicone coated
• The diagram in Illustration 11A
Illustration 11B: Tacking dry
mounting components
11
Mounting
recommended - except when
mounting onto foam board, as this
type of substrate may be subject
to "crushing". When mounting
onto foam board, we recommend
using reduced vacuum pressure
during the mounting cycle.
clear release fi lm over silicone
release paper. Clear release fi lm
is transparent (allowing you to
see the work in progress), less
prone to "creasing" and has a
longer usage life.
shows the positioning for each
component in the dry mount
package prior to being placed in
the press.
