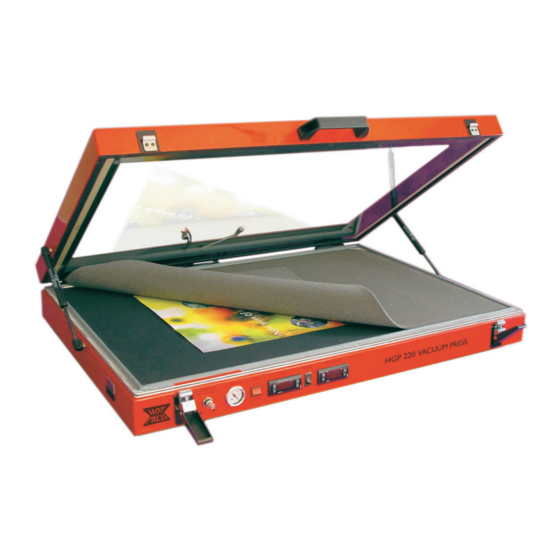
Drytac HOT PRESS HGP260 Manual do operador - Página 12
Procurar online ou descarregar pdf Manual do operador para Ferramenta eléctrica Drytac HOT PRESS HGP260. Drytac HOT PRESS HGP260 19 páginas. Heated glass top vacuum press
Também para Drytac HOT PRESS HGP260: Manual do utilizador (19 páginas)

your job. It is important that the press be operated at the correct temperature to activate the
adhesive and bond the materials. See page 8 for more on temperature controls.
Time (Dwell): This factor works in conjunction with temperature to create a permanent bond
between materials. Assuming that the temperature setting of the press is sufficient to activate the
adhesive, it is almost always preferable to increase dwell rather than temperature. Dwell time is
set using the Timer (page 9) and dictates the vacuum cycle (see Pressure, below).
Pressure: Pressure is established in the press by the vacuum pump, which is controlled by the
Timer (see page 9). The vacuum presses the materials together for the amount of time chosen by
the operator using the timer controls. Pressure should usually be set at over 25" of mercury. It
should be reduced for softer mounting materials such as foam board using the vacuum adjustment
valve.
Other Factors:
Following the recommended temperature and time settings on your Glass Top
Vacuum Press will almost always produce excellent results. However, other factors can affect the
settings on the machine.
Materials:
Manufacturer's dwell and temperature settings are based on paper graphics.
However, heavier materials such as canvas absorb more heat and may require a higher
temperature setting or longer dwell time setting. This is also true for denser or thicker mounting
substrates.
Workpiece size:
The same principle applies to the overall size of the job. Larger jobs absorb
more heat and may require longer dwell times.
NOTE: Whenever possible, test actual materials together prior to processing a challenging or
unusual job.
FUNDAMENTALS OF DRYMOUNTING
Dry mounting an image to a substrate can be performed
in a variety of ways and varies according to the nature
of the mounting substrate, mounting adhesive and the
print, photo or artwork being mounted. However, the
basic methods described below will provide excellent
results for most standard applications.
1. Set the vacuum press to reach an operating
temperature of 185° F (85° C)*.
2. Cut a piece of dry mounting tissue slightly larger
(on all sides) than the work to be mounted.
3. Place your print face down onto a clean work surface and cover with the dry mounting
tissue. Lightly tack the tissue to the back of the print with a tacking iron. To avoid adhesive
building up on the tacking iron, tack through silicone release paper/film, shiny side toward
the tissue. Trim the excess tissue.
Illustration 11A: Top to bottom
Material placement order in press
12
