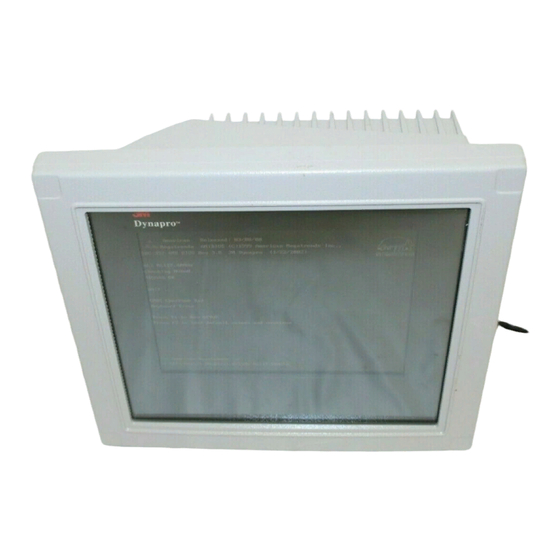
3M Dynapro ET 350R Manual de instalação - Página 3
Procurar online ou descarregar pdf Manual de instalação para Monitor 3M Dynapro ET 350R. 3M Dynapro ET 350R 7 páginas. Nema 4x hatch
Também para 3M Dynapro ET 350R: Manual de instalação (3 páginas), Manual de instalação (6 páginas)

Installing the NEMA 4X Hatch
Start at one corner and peel away just enough of
3.
the backing to expose about 1 inch of adhesive
on each side of the corner.
Important
The adhesive under the backing is very delicate. To
!
be sure that you do not remove the adhesive with the
backing, use a razor knife to separate the backing
from the adhesive.
Do not remove the entire backing at once. Start at
!
one corner, lift and peel back some of the backing
only, as described below.
Do not stretch the gasket. This can cause the
!
adhesive layer to come away from the gasket.
Place the gasket on the recessed edge of the
4.
access hatch, with the backing side down. Line it
up with the edge of the opening in the access
hatch, then gently press the corner with the
exposed adhesive into place. Don't press it down
firmly, yet.
With the gasket gently adhering at the corner,
5.
peel the backing away from the corner carefully,
a little bit at a time, gently pressing the gasket
into place around the edge of the access hatch as
you go along. Don't press it down firmly, yet.
Continue until you have removed all of the
6.
backing and the gasket is lightly tacked into
place around the opening of the access hatch.
Make sure that the entire surface of the gasket is
7.
in contact with the recessed edge of the access
hatch, without bumps or ripples.
When you are satisfied with the fit, use your
8.
fingers to press the gasket firmly into place all
around the opening of the access hatch.
19504 (Rev. 1.1)
3M Dynapro ET 350 Monitor (Models ET 350R and ET 350L3)
Preparing the hatch for cables
You can make up to four openings through the back
of the hatch.
Do not make openings in the removable plate, the top
or bottom of the hatch, nor in the extended hatch
cover (if you are using the extended hatch cover).
Important
Be sure that the openings you make are free of burrs and
that the surface around the hole is smooth and free of
debris. This will help ensure that the installed fittings seal
properly.
If you want to make your own cables, refer to pin-outs
in the 3M Dynapro ET 350 Monitor User's
Installation Guide.
Connecting cables to the hatch
To ensure safe, certifiable connections and a complete
seal using one of the sealed fittings provided
(Table A), follow the steps in this section.
Table A: Supplied cable fittings (large and small)
Manufacturer
Part number
Round cable
diameter range
Clearance hole
(+0.010" / -0.000")
(+0.25 mm / -
0.000 mm)
Description
Open-end
wrench
Torque of
locking nut
Torque of
sealing nut
Small fitting
Large fitting
Sealcon
Sealcon
CD07CA-BK
CD13NA-BK
0.150 - 0.250"
0.250" - 0.450"
(3.81 - 6.35 mm)
(6.35 - 11.43 mm)
0.490"
0.830"
(12.5 mm)
(21.1 mm)
Straight
Straight
19/32"
15/16"
(15 mm)
(24 mm)
20 inch-pounds
31 inch-pounds
14 inch-pounds
22 inch-pounds
Page 3
