Daintree Contour Gen 2 Flex Manual de instalação - Página 7
Procurar online ou descarregar pdf Manual de instalação para Equipamento de iluminação Daintree Contour Gen 2 Flex. Daintree Contour Gen 2 Flex 9 páginas. Led lighting system

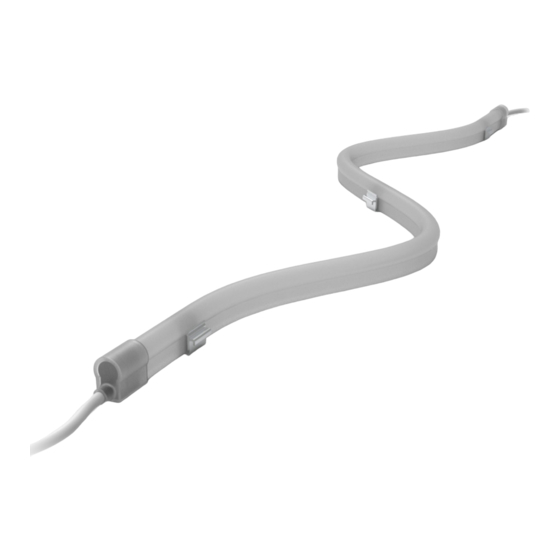
Contour Gen 2 Flex (Side Bend)
Push into clips
4
Push each light
engine segment
into the clips.
Connect Power Supply
RISK OF ELECTRICAL SHOCK: Turn power OFF before inspection, installation or removal.
RISQUES DE CHOC ÉLECTRIQUE: Coupez l'alimentation électrique avant d'inspecter, d'installer ou de déplacer le luminaire.
To Contour
Black or blue (–)
Power
supply
Run a wire from the power
8
supply to a section of Contour.
Power supply connection
to the AC mains must be
completed in an acceptable
enclosure. Power supply
loading is described on
page 9.
Weather box can be painted
11
Secure the weather box using
a #6 or #8 (M2 or M3) screw.
5
Secure light engine
by twisting tie-wire
around the mounting
clip and light engine.
WARNING/AVERTISSEMENT
Red (+)
Black or
blue (–)
Strip wires back 0.5 in. (13mm).
9
Connect the red wire (+)
from the LED strip to the red
wire (+) of the power supply.
Connect the black wire (-)
from the LED strip to the black
or blue wire (-) of the power
supply.Grounding and bonding
must be done in accordance
with National Electrical Code
(Article 600). See power supply
instructions.
+
–
To connect two
6
light engines, first
strip wire ends back
0.5 in. (13mm). Then
join wires together
using twist-on wire
connectors.
Red (+)
To power supply
10
7
Installation Guide
Weather
box can be
painted
Insert wire connectors
7
into weather box. Fill
with electrical grade
silicone and close
box. Weather box can
be mounted using #8
(M3) screws.
Insert wire connectors
into weather box. Fill with
electrical grade silicone and
close box.
