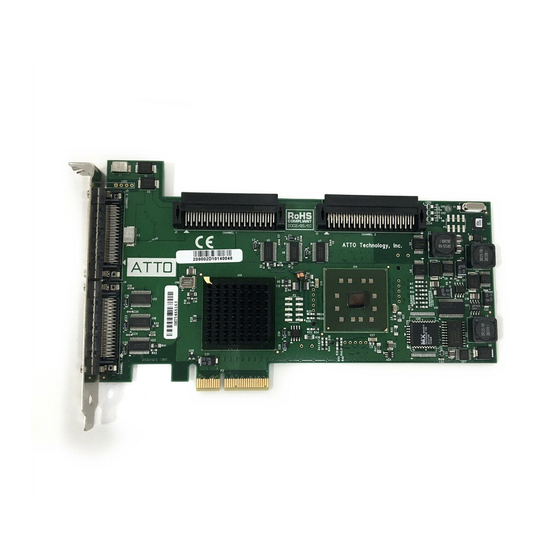
ATTO ExpressPCI adapters ship with the latest firmware installed. If you are performing a new adapter
installation, you do not need to update the firmware. If you are upgrading a previously installed driver,
update the adapter firmware to ensure proper operation.
Visit the ATTO Technology website,
, for the latest drivers and
www.attotech.com
firmware.
Use the ATTO Configuration Tool
1
Download the most recent version of the
Configuration Tool from the ATTO web site,
www.attotech.com.
Refer to the ATTO Utilities Installation and
Operation Manual for additional information on
downloading and using the Configuration Tool.
2
Download the flash bundle for your adapter
from the ATTO web site and extract them to
your desktop.
3
Install the Configuration Tool on your system.
4
Launch the Configuration Tool.
5
In the Device window, select your adapter
6
In the Flash window, click on the Browse
button to find the flash bundle that you
previously downloaded to your desktop.
7
Click Update to update your flash ROM.
8
Reboot your system for the flash changes to
take effect.
5 Updating hardware flash
Use the ExpressPCI BIOS Setup Utility
Note
BIOS utilities are not available on Itanium
systems. Use the ATTO Configuration Tool
to update flash on Itanium systems.
1
Download the latest Windows driver package
from the ATTO Technology website.
2
Run makedisk.bat in the Windows driver
package and follow the instructions for creating
the driver floppy disk.
3
Reboot the PC.
4
During the reboot, an ATTO Technology
banner displays that the host adapter is
detected.
5
Enter Control-Z when prompted to begin the
setup utility within a few seconds after the
banner appears.
If you do not enter Control-Z soon enough after
the banner appears, repeat steps 3-5.
6
In the utility, select the Adapter Menu.
7
Select the Upgrade Flash ROM option.
8
Insert the driver disk from step 1 into the floppy
drive.
9
Follow the on-screen instructions.
10 Remove the disk and reboot your system for
the flash ROM changes to take effect.
10
Updating hardware flash

