bouncepad VESA Instruções de montagem
Procurar online ou descarregar pdf Instruções de montagem para Acessórios para computador bouncepad VESA. bouncepad VESA 2 páginas.
VESA
Assembly Instructions
Follow these instructions for
the successful assembly of your
Bouncepad VESA.
Sheet Code:
BP-OR-IM-017_REV2
Release Date:
17/07/2018
Copyright 2017 Spotspot Ltd. (T/A
Bouncepad) all rights reserved.
Confidential, no part of this publication
may be reproduced or transmitted in any
form without the written permission of the
copyright holder.
Position & mark the mounting surface
1A
on which the Bouncepad VESA is to
be located. Ensure the VESA is level.
Case Washer
M4 Button-head screw
T20 Driverbit
M4 Split Washer
Attach the Bouncepad Case to the
4A
Mounting Arm. Take care to ensure
correct & full thread engagement.
If fixing from behind:
Ø 4.0mm
If fixing from front:
Ø Determined by
your chosen fixings.
Drillbit
Socket
Drill
Driver
*fixings to mounting surface not provided
Tools if mounting to a
0A
surface
Drill the fixing holes in your surface.
2A
Refer to your chosen fixings for the
appropriate hole depth & diameter.
4x Tablet Supports
1x Cable Clip
Install the Tablet Setup Kit. Each
5A
kit is specific per tablet device and
Bouncepad Case.
Socket
Driver
*M4 fixings to VESA arm
not provided
Tools if
0B
0
mounting to
a VESA arm
3A
4x Corner Pieces
6A
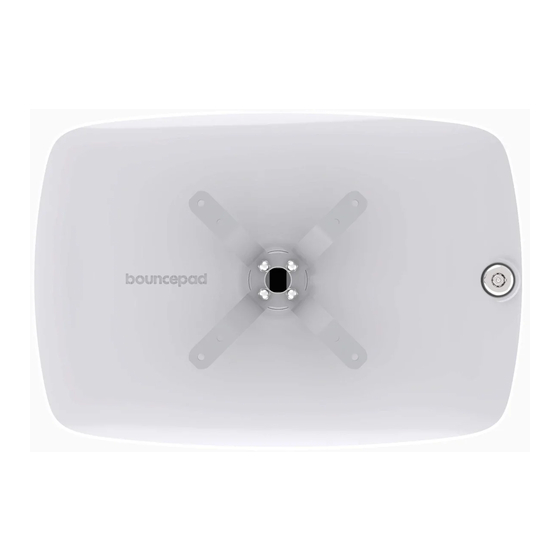
Faceplate
Case
VESA Mount
Tablet Set-up Kit
Fixings Kit
VESA - In the Box
Secure the Bouncepad VESA mount to
the mounting surface.
Feed the tablet cable through the
Case. Connect it to its power supply.
Install your tablet into the case.