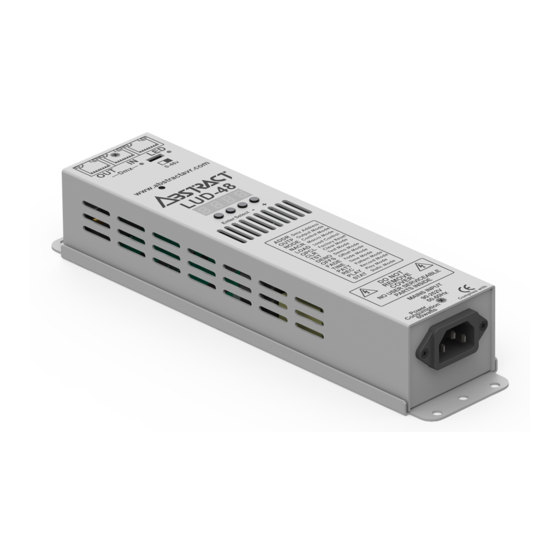
ABSTRACT LUD48-4 Manual do utilizador - Página 5
Procurar online ou descarregar pdf Manual do utilizador para Equipamento de iluminação ABSTRACT LUD48-4. ABSTRACT LUD48-4 10 páginas.

CONNECTING LED FIXTURES
IMPORTANT
All work involving electrical components should be carrieD out by a competent qualified
electrical professional in accordance to IET BS 7671 and any local by-laws.
All mains power MUST be turned off before starting installation or maintenance; and
MUST remain off for the duration of installation or main-tenance.
Equipment may become hot to the touch when used for periods of time. Ensure equipment
is off and cooled before carrying out maintenance.
DO NOT connect or disconnect LED units while mains power is connected. All RJ45 connec-
tions MUST be made before mains power is connected. Failure to do so may result in cata-
strophic failure of the LED.
You can install any combination of LED units from a single 'LED' output on the Driver, ensur-
ing the total combined forward voltage of the fittings
connected to any single 'LED' output DOES NOT EXCEED 48V and is NO LESS THAN 8V.
TESTING
You should test each fitting in isolation before continuing installation.
1.
Disconnect the Driver from mains power.
2.
Connect LED unit to the 'LED' socket of the Driver in isolation.
3.
Power up the Driver.
4.
Press 'ENT' continuously to select RED, GREEN, BLUE and WHITE.
5.
Repeat steps 1 to 4, for each fitting.
If each LED unit lights up and displays each colour you can continue with your installation.
If a LED unit does not light up or display each colour please contact us for help. Do not con-
tinue your installation.
CONNECTING INDIVIDUAL LED UNITS
Ensure you have carried out the testing before installation.
1.
Disconnect the Driver from mains power.
2.
Using a RJ45 patch lead connect from 'LED' socket of the Driver to 'IN' socket of
In-line connector.
3.
Connect the RJ45 of LED unit to 'OUT' socket of In-line connector.
(1x 'IN' socket, 1x 'OUT' socket).
Ensure you have carried out the testing before installation.
1.
Disconnect the Driver from mains power.
2.
Using a RJ45 patch lead connect from 'LED' socket of the Driver to 'IN' socket of
T-Piece.
3.
Connect the RJ45 of LED unit to 'LED' socket of T-Piece
(1x 'LED' socket, 1x 'IN' socket, 1x 'OUT' socket).
4.
Connect a RJ45 patch lead from 'OUT' socket of T-Piece to 'IN' socket of next T-Piece.
5.
Repeat steps 3. and 4 for each fitting, ensuring you do not exceed a total forward
voltage of 48V to each 'LED' output of the Driver.
6.
The last LED unit should be terminated with an In-line connector in place of the last
T-Piece. (1x 'IN' socket, 1x 'OUT' socket).
IMPORTANT: WHEN CONNECTING THE LAST LED UNIT, PLEASE ENSURE THAT YOU LEAVE NO OPEN
RJ45 CONNECTIONS ON THE CIRCUIT BY TERMINATING WITH IN-LINE CONNECTOR. LEAVING OPEN
TERMINALS WILL LEAVE THE CIRCUIT INCOMPLETE.
T: +44 (0)116 278 8078
www.abstract.co.uk
Open Mon - Fri 8am - 5pm
CONNECTING MULTIPLE LED UNITS
T-PIECE WIRING
(FOR MULTIPLE UNITS ON DRIVER OUTPUT)
RJ45 (IN)
Connect from
driver output to
'IN'.
RJ45 (OUT)
Connect to
next T-Piece 'IN'
or end of line LED
unit.
RJ45 (LED)
Connect to
desired LED
unit.
