Conair BE71TC Manual de utilização e cuidados - Página 3
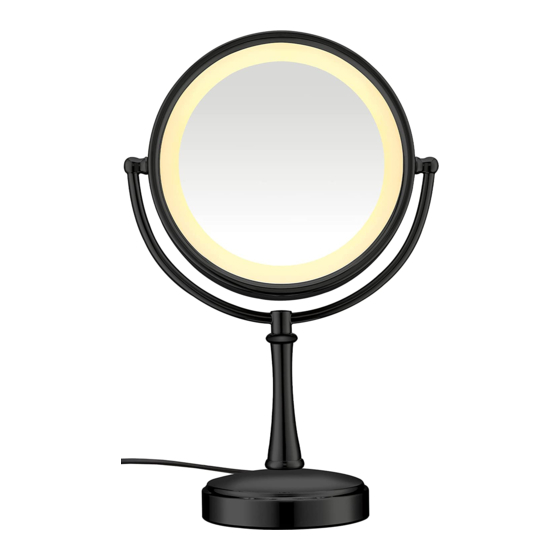
Procurar online ou descarregar pdf Manual de utilização e cuidados para Produtos de higiene pessoal Conair BE71TC. Conair BE71TC 4 páginas. Double-sided illuminated mirror with touch activation

than the other). This plug will fit in a polarized
outlet only one way. If the plug does not fit fully
in the outlet, reverse the plug. If it still does not
fit, contact a qualified electrician to install the
proper outlet. Do not change the plug in any
way.
CAUTION: BE SURE DIRECT SUNLIGHT DOES
NOT STRIKE MAGNIFYING SIDE OF MIRROR
WHEN LEFT UNATTENDED; REFLECTED
SUNLIGHT CAN CAUSE FIRE.
1. Your lighted makeup mirror will rotate 360°
so that you can use either the normal, flat
mirror or the 7x magnifying mirror located
on the opposite side.
2. Plug adaptor into any standard 120 volt wall
outlet. The mirror light is activated by touch.
Touch the base to control the light settings.
The first touch will turn the light on to the
low setting. A second and third touch
changes light settings to medium and high.
A fourth touch will turn off the mirror light.
3. After use, always touch the base to turn the
mirror to the OFF position and unplug.
4. The beauty and design of this mirror
complements any decor. Therefore, you may
wish to leave the mirror displayed. However,
if you choose to store the mirror, see
"STORAGE" for detailed information.
TO REPLACE BULB
CAUTION: TURN OFF POWER AND UNPLUG.
ALLOW TO COOL AT LEAST 3 MINUTES BE-
FORE REPLACING BULB. REPLACE BULB ONLY
WITH BULB OF SAME WATTAGE RATING.
Contact a Conair service centre at 1-800-472-
7606 for replacement bulb information (ask for
replacement bulb [#RP-34. Bulbs are $1.50 a
piece, includes shipping and handling.])
1. Remove screws from left and right sides of
mirror. (Fig. 1)
2. Carefully lift off the removable housing from
the half that is affixed to the stand.
3. Unscrew the old bulb and replace with the
new bulb. (Fig. 2)
4. Carefully replace the removable half after
locating and aligning the screw holes to the
fixed half.
5. Insert screws into screw holes and tighten.
Figure 1
Figure 2
