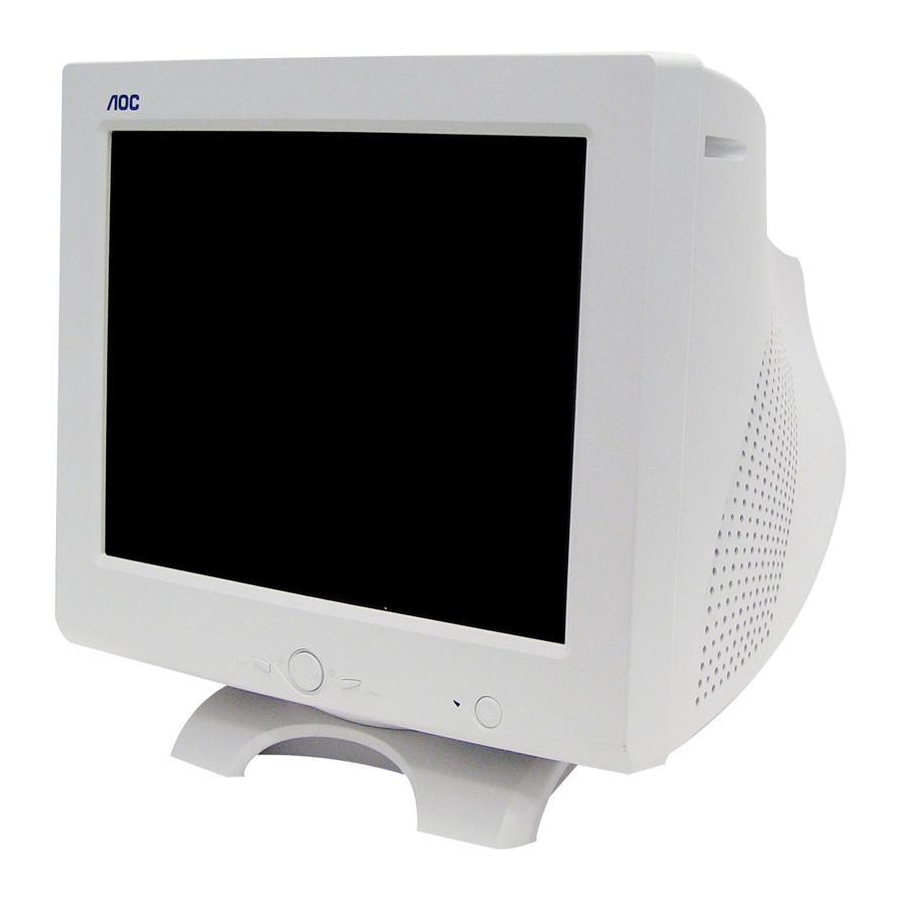
AOC 17" FT700 Manual - Página 3
Procurar online ou descarregar pdf Manual para Monitor AOC 17" FT700. AOC 17" FT700 6 páginas. 43.2cm(17") crt monitor
Também para AOC 17" FT700: Especificações técnicas (1 páginas), Manual do utilizador (13 páginas)

INSTALLATION INSTRUCTIONS
SWIVEL BASE
To attach the swivel base to the monitor, do the following:
•
Carefully turn the monitor on its side or upside down.
(see figure 1)
•
Locate the cavities at the bottom front of the monitor.
•
Insert the pegs on the swivel base into these cavities. Push the
swivel base forward until the swivel base locks in place.
•
To remove the swivel base, hold the bottom of the swivel base,
then push it out.
POWER CORD
Power Source:
1. Make sure the power cord is the correct type that required in
your area.
2. This monitor has a universal power supply that allows operation
in either 100/120V AC or 220/240V AC voltage area (No user
adjustment is required).
3. Connect the power cord into your monitor's power input socket,
and then plug the other end into a 3-pin AC power outlet. The
power cord may be connected to either a wall power outlet or
the power outlet socket on your PC, depending on the type of
power cord supplied with your monitor.
VIDEO CABLE
Connecting the Video Cable: the monitor comes with a built-in
video cable. Plug the signal cable's 15-pin connector into the
computer's video port and tighten the two screws on the cable
connector. (see figure 2)
Caution:Don't bend the signal cable, otherwise it will break the
inner wire.
Connecting the Power Cord: Plug the power cord into the
monitor's AC power jack. Then plug the power cord into a
grounded AC outlet, UL-approved power strip, or the power output
socket on your PC.
Caution: If the AC outlet is not grounded, install the proper
grounding adapter (not supplied).
OPERATING INSTRUCTIONS
GENERAL INSTRUCTIONS
The other control knobs are located at the base of the monitor
(See Figure 3). By changing these settings, the picture can be
adjusted to your personal preferences.
•
The power cord should be connected.
•
Connect the video cable from the monitor to the video card.
•
Your monitor features a unique quick switch system which
provides a picture within seconds after the monitor is switched
on.
NOTES
•
Do not install the monitor in a location near heat sources such
as radiators or air ducts, or in a place subject to direct sunlight,
or excessive dust or mechanical vibration or shock.
•
Save the original shipping carton and packing materials, as they
will come in handy if you ever have to ship your monitor.
•
For maximum protection, repackage your monitor as it was
originally packed at the factory.
•
To keep the monitor looking new, periodically clean it with a soft
cloth. Stubborn stains may be removed with a cloth lightly
dampened with a mild detergent solution. Never use strong
solvents such as thinner, benzene, or abrasive cleaners, since
these will damage the cabinet. As a safety precaution, always
unplug the monitor before cleaning it.
4
