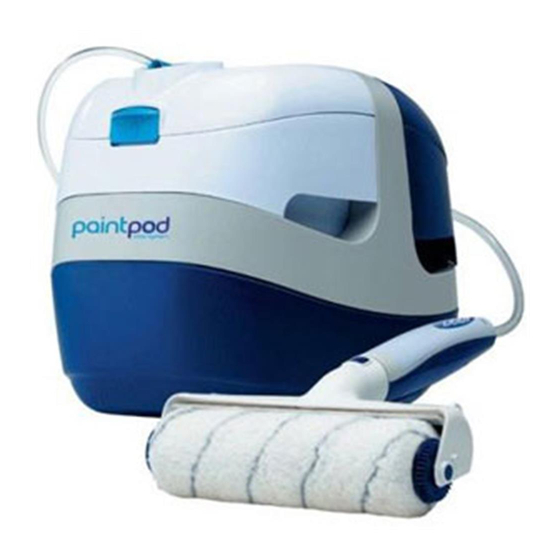
Dulux PaintPod Manual do utilizador - Página 16
Procurar online ou descarregar pdf Manual do utilizador para Pulverizador de tinta Dulux PaintPod. Dulux PaintPod 18 páginas. Roller system

TrOuBLe sHOOTiNg
sYMPTOM
Unit does not power up and/
or cuts out during use.
Paint pack warning light
illuminated.
Unit does not start pumping
paint or occasionally cuts out
during painting.
Insufficient/no paint flowing
onto roller sleeve.
Paint dripping/splatter during
painting.
Roller handle is difficult to
insert into roller head.
Roller will not rotate during
painting.
POssiBLe CAuses
Power lead not inserted correctly.
Power lead has been pulled out of
PaintPod unit.
Power lead is not plugged into
mains socket.
Mains power is not turned on.
Power lead is damaged.
No paint pack in the PaintPod.
Paint pack is inserted into white chamber
the wrong way around.
The white chamber lid is not closed
properly.
Paint pack still present in white chamber
whilst trying to clean.
Battery in handset is flat.
Battery missing from handset.
Two or more PaintPods in the same room.
Dip tube pump wear.
Tube twisted, kinked or pinched off.
Inadequate cleaning on previous use
(instructions not followed) leading to
blocked dip tube.
Dip tube not engaged correctly.
Battery in handset flat.
Paint pack empty.
Not using paint loading trigger sufficiently to
load paint.
Constant pressure on paint loading trigger
leading to overloading of paint into feeder
tray during painting and not rolling/rolling
fast enough to distribute paint.
Roller sleeve old and worn.
Roller sleeve is wet from previous use.
Water in tube from previous cleaning cycle.
Feeder roller not in place.
Feeder tray has become detatched from
roller head.
Paint contamination of either handle
coupling or roller head connector.
Constant pressure on paint loading trigger
leading to overloading of paint into feeder
tray during painting and not rolling/rolling
fast enough to distribute paint.
ACTiON
Insert power lead correctly (page 5).
Reinsert power lead (page 5).
Plug 3 pin plug into mains socket (page 5).
Turn on mains socket (page 5).
Replace power lead.
Place paint pack into the white chamber and follow user
guide (page 5).
Remove paint pack and replace ensuring dip tube hole inside
the pack is facing the correct way (see foil lid or user guide
– page 5).
Open and reclose the lid ensuring that it clicks closed.
'Drain' the paint back into the pack. Remove pack from white
chamber before starting the cleaning program (page 10).
Replace battery in roller handle (page 14).
Replace battery in roller handle (page 14).
The first time the trigger on the roller handle is pressed its
identity (ID) is transmitted from the handle and stored in the
unit. This occurs each time the unit is powered up. Pairing of
the handle and the unit occurs after pressing the paint button
once on the control panel. Ensure you only 'pair' ONE unit at
a time.
Replace dip tube.
Straighten, or replace dip tube.
Replace dip tube.
Check orientation of dip tube (page 5).
Replace battery in roller handle (page 14).
Replace paint pack (page 9).
Use paint loading trigger whilst rolling roller to load paint
onto roller.
Immediately release paint loading trigger and roll out excess
paint onto wall/ceiling. Then use paint loading trigger as
directed in user guide (page 7).
Replace roller sleeve (page 13).
Remove sleeve from roller head, squeeze out excess water
and allow to dry.
Roll roller onto dry cloth to remove excess water before
painting. If you notice water in the tube before painting then
excess water can be drained by using the drain cycle.
Correctly place feeder roller into feeder tray.
Reassemble feeder tray.
Remove any paint contamination or replace dip tube if
contamination is excessive (page 12).
Immediately release paint loading trigger and roll out excess
paint onto wall/ceiling. Then use paint loading trigger as per
instruction.
15
