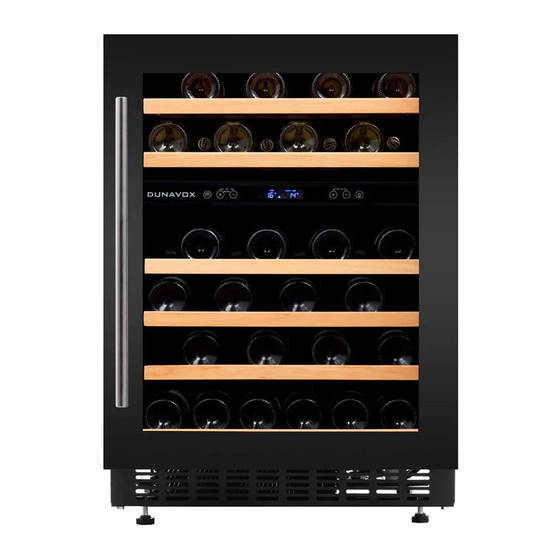
Dunavox DAUF-46.145DSS Manual de instruções - Página 6
Procurar online ou descarregar pdf Manual de instruções para Refrigerador de vinho Dunavox DAUF-46.145DSS. Dunavox DAUF-46.145DSS 14 páginas.

Do not connect the appliance to the mains electricity
supply by an extension lead. Extension leads do not
guarantee the required safety of the appliance (e.g.
danger of overheating).
The appliance must not be connected to an inverter
and must not be used with a plug adapter as these
can cause damage to the appliance's electronic unit.
The cord must rest securely behind the appliance
and not be allowed to lie or hang unprotected.
WARNING:
THIS APPLIANCE MUST BE EARTHED.
INSTALLING THE HANDLE
IMPORTANT: Do not overtighten the screws & do
not use power tools to install the handle. Overtighten
screw causes glass breakage.
DESIGN 1 –
Locate the handle ① over the fixing pins ③ of the
door and using the supplied allen key, tighten the
securing grub screws ② to fix the handle.
DESIGN 2 –
1.
Remove the door gasket ① on the side you
wish to install the handle - you can see two
designated holes for handle installation.
2.
Install the handle ④ tightly as shown above
with two screws ③ and flat washers ②
provided.
3.
Install the door gasket.
Note: All parts removed must be saved to do
the reinstallation of door.
ADJUSTING THE REMOVABLE SHELVES
Lift the nylon buckle of left rail and press down the
nylon buckle of right rail in the same time, then the
shelf can be pulled out from the rail compartment.
To install back the shelf, line up both left and right
rail track levelly and push to the end.
To remove the shelf from the support bracket 1,
press the two clips of the roller bracket in and up,
and pull out the shelf following the arrows 2. To
reinstall back the shelf, push in the shelf alignment
with two sides of sliding roller following the arrow 3.
REVERSING THE DOOR HINGE
It is possible to reverse the door on this appliance, if
required.
To do so, follow the steps below:
DESIGN 1 – For built-under models
① Lock screws ② Lower hinge (Right)
③ Door axis ④ Top hinge (Right)
⑥ Cabinet ⑦ Top hinge (Left)
⑧ Lower hinge (Left)
1. Unscrew the Lock screws①. (Fig.1)
2. Pull the door ⑤outward,take it out. (Fig.2)
3. Unscrew 3 pcs bolts,take out the Top hinge
(Right)④. (Fig.3)
4. Fix the Top hinge (Left) and Lower hinge (Left)
⑤ Door
