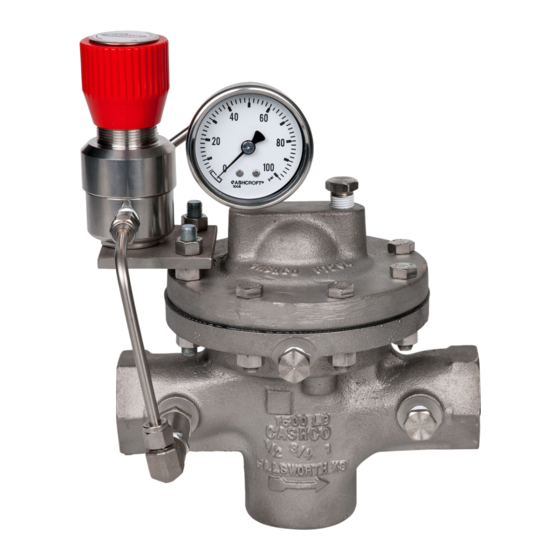
cashco SLR-1 Manual de instalação, operação e manutenção - Página 4
Procurar online ou descarregar pdf Manual de instalação, operação e manutenção para Controlador cashco SLR-1. cashco SLR-1 18 páginas. Direct-acting, pressure loaded, pressure reducing regulator with self-relieving loader

Type OR — O-Ring
Dynamic Seal
B. Main Regulator Disassembly:
SYSTEM UNDER PRESSURE. Prior to per form ing any
maintenance, isolate the reg u la tor from the system and
relieve all pressure. Failure to do so could result in
personal injury.
1. Shut down system in accordance Section VI.
2. Disconnect the external sensing line, if in-
stalled. Disconnect tubing at inlet connection
of the main regulator body, the inlet and outlet
of the loader.
3. Though it is possible to disassemble the valve
unit while installed in a pipeline, it is rec om-
mend ed that maintenance be done in a shop
when possible. The instructions hereafter will
assume shop disassembly. Remove main
regulator from pipeline.
4. Place the main regulator body in a vise with
the cover dome (25) upwards.
5. Loosen and remove the diaphragm flange
bolts (11) and nuts (12) uniformly. Set loading
regulator aside.
6. Place matchmarks on body (23) and cover
dome (25) flanges. Remove cover dome (25).
4
Figure 1: Dynamic Side Seals
Type CW — TFE Cap
Dynamic Seal + Wiper
WARNING
Loader
Gauge
Filter
Tubing Connection
7. Hold the milled "flats" on top of the valve
plug (20) stationary, rotate the di a phragm
lock nut (7) CCW to remove.
8. Remove upper diaphragm plate (8).
9. Remove diaphragm (9) and o-ring upper stem
seal (14.1). Examine diaphragm to determine
whether failed; determine if op er at ing condi-
tions are ex ceed ing pressure, pressure drop
or temperature limits.
10. Re move lower diaphragm plate (10).
Type UC — U-Cup
Dynamic Seal
Figure 2
Tubing Connection
IOM-SLR-1
