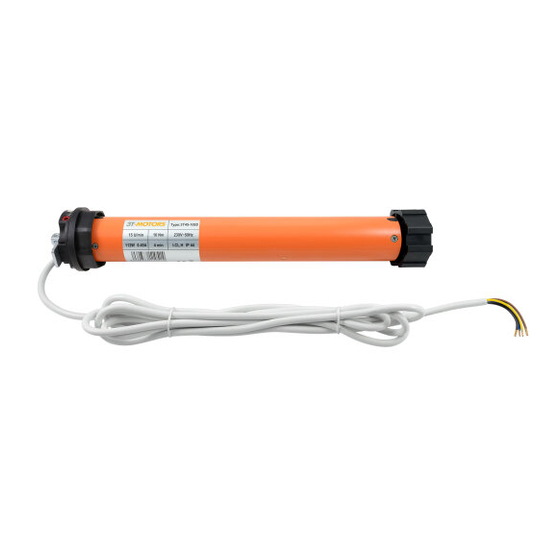
3T-Components 3T-MOTORS 3T45-10SD Manual de instruções de instalação e funcionamento - Página 13
Procurar online ou descarregar pdf Manual de instruções de instalação e funcionamento para Motor 3T-Components 3T-MOTORS 3T45-10SD. 3T-Components 3T-MOTORS 3T45-10SD 16 páginas. Shutter motors with mechanical limit switches, for shafts from 60/40 mm

INSTALLATION INSTRUCTIONS
MOUNTING INSTRUCTIONS FOR 3T-MOTORS MINI-TUBE MOTORS MOTOR TYPE 3T35-SD
Use proper suspension springs:
To fasten the roller shutter curtain to the roller shutter shaft, please be sure to use
•
suitable suspension springs for motor operation. These special mini suspension springs only protrude
approx. 1 mm into the shaft. This allows the shaft to rotate freely. When commercially
springs are used, there will be grinding marks on the motor housing because the suspension pin
protudes too far into the roller shutter shaft, which leads to damage and destruction of the motor.
In case of any kind of grinding marks on the motor housing, the warranty claim is void.
Use correct roller shutter shaft with external fold:
For steel shafts with a width across flats of 40 mm (SW40), only use shafts with
•
an external fold. Steel shafts with an internal fold will damage and destroy the motor.
Do not use
8-sided shaft SW40
with internal fold!
Explanation:
Avoid overstressing and resulting premature aging of the motor by using the correct suspension
•
springs and the correct roller shutter shaft with external fold!
Keep in mind that the motor housing has a diameter of 35 mm and the roller shutter shaft SW40
•
has an outer diameter of 40 mm. When using commercially available springs or roller shutter shafts
with internal fold, the motor housing will be left with grinding marks, since the suspension pin or the
fold protrude too far into the roller shutter shaft. Contrary to its intended use, the motor runs
permanently against an overload and outside its characteristic data.
8-sided shaft SW40
with external fold
Suspension spring
Mini Suspension spring
3T-MOTORS Tubular motors | Installation instructions
13
