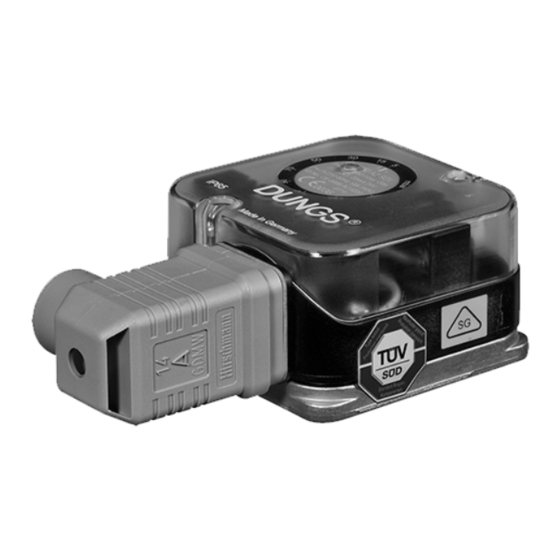
Dungs GW A2 SGV Series Instruções de utilização e montagem - Página 3
Procurar online ou descarregar pdf Instruções de utilização e montagem para Interruptor Dungs GW A2 SGV Series. Dungs GW A2 SGV Series 10 páginas. High pressure gas and air pressure switch

Einbaumaße / Dimensions
Cotes d'encombrement / Dimensioni [mm]
GW...A2
max. Drehmomente / Systemzubehör
[Nm]
max. torque / System accessories
max. couple / Accessoires du système
max. coppie / Accessorio di sistema
Geeignetes Werkzeug einsetzen!
Please use proper tools!
Utiliser des outils adaptés!
Impiegare gli attrezzi adeguati!
Gerät darf nicht als Hebel be-
nutzt werden
Do not use unit as lever.
Ne pas utiliser le pressostat
comme un levier.
L´apparecchio non deve essere
usato come leva.
Einbau
GW...A2
Der Druckwächter wird ange-
flanscht.
Nach Einbau Dichtheits- und Funk-
tionskontrolle durchführen.
Auf vibrationsfreien Ein-
bau achten! Bild 2.
3 ... 10
72
1
2
3
10
72
•
M20 x 1,5 oder Steckanschluß für Leitungsdose nach
DIN EN 175 301-803
M20 x 1.5 or plug-type connection for cable socket
according to DIN EN 175 301-803
M20 x 1,5 ou fiche pour boîtier suivant DIN EN 175 301-803
M20 x 1,5 oppure collegamento a spina per presa di rete
a norme DIN EN 175 301-803
M
max.
T
max.
M
max.
Installation of
GW...A2
Pressure switch is flange-moun-
ted.
After installation, perform a leakage
and function test.
Ensure that the pressure
switch is installed free of
vibration! (see Fig. 2).
53,7 (LK 76)
•
•
G 1/4
Drehmoment Haubenschraube
M 4
max. torque cap-head screw
7 Nm
Couple max. pour les vis du couvercle
2,5 Nm
vite a cappuccio per coppia max.
DN
Rp
M
max.
T
max.
Montage
GW...A2
Le pressostat est bridé.
Après le montage contrôler la fonc-
tion et l'étanchéité.
Veiller à ce que l'appareil ne
subisse pas de vibrations !
Fig. 2.
Nut für O-ring
Groove for O ring
Gorge pour
joint torique
Scanalatura per anello torico
10,5 x 2,25
Durchgangs-
bohrung für M4
Through-hole for M4
Perçage pour M4
forno passante x M4
8
1/4
35
[Nm] t ≤ 10 s
20
[Nm] t ≤ 10 s
Installazione
GW...A2
Il pressostato viene collegato a
flangia.
Dopo il montaggio effetture i controlli
di tenuta e funzionalità.
Evitare possibilità di vibra-
zioni! Fig 2.
1,2 Nm
