Dura Electric Curtis Stone Instruções de utilização - Página 8
Procurar online ou descarregar pdf Instruções de utilização para Panela de pressão eléctrica Dura Electric Curtis Stone. Dura Electric Curtis Stone 10 páginas. Airfryer pressure cooker
3.
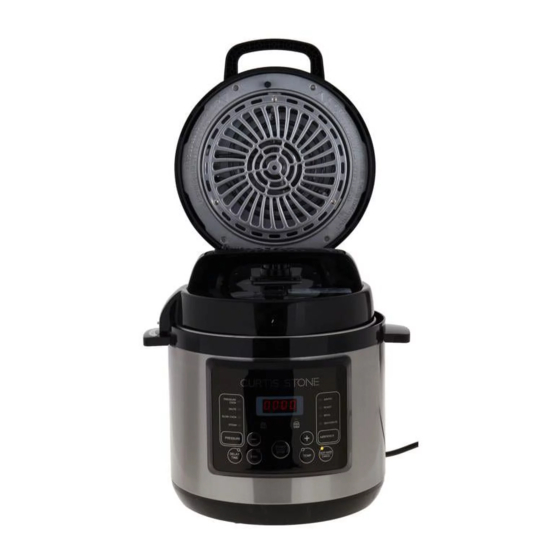
Insert the power cord into the socket on the back side of the BASE, then insert the end
of the plug into a power socket . When the power in connected , the product will emit a
beep and enter the standby state. The display shows "— — — —".
Note: (The Pressure cooker mode indicator lights up, indicating that you are in Pressure
cooker mode, at which point the Airfryer mode function is not available).
4.
Select a cooking mode. Press the "PRESSURE" button to cycle through the four cooking
modes, PRESSURE COOK, SUATE, SLOW COOK and STEAM. A light will illuminate next
to the cooking mode to show you which mode you are on.
5.
Adjust your settings. Press "TIME" to adjust the cooking time, "+" and "-" keys to adjust
the time. Press "TEMP" to adjust the cooking temperature then press "+" and "-" keys
to adjust the for "L" low or "H" high pressure cook. For the adjustable TIME and TEMP
range and availability for each mode, please refer to (Table 2). Note: you can still adjust
"TIME" and "TEMP" settings after pressing "START".
6.
DELAY TIME
The DELAY TIME option allows you to set a delayed start time if you wish your recipe
to be ready at a later time. To use simply press the DELAY TIME button then using the
"+" and "-" buttons to adjust a delay time. You can choose from 30minutes to 24hours
in 30 minute steps . When the timer reaches zero the Pressure Cooker will start cooking.
NOTE:This option only works for PRESSURE COOK, SLOW COOK and STEAM cooking
modes.
WARNING : Delay start program is not recommended for porridge,oatmeal or other
foamy and thick liquids . Cooking progress should be monitored when cooking these
foods.
7.
To start, press the "START" button, the Pressure cooker will emit a beep and enter the
working state. NOTE: The Timer does not start until the correct pressure is reached, the
display will show bars rotating in a clockwise motion. This can take up to 20 minutes
before your set timer starts depending on the amount of food and what your cooking.
When the timer reaches zero you will hear a beep, and the Pressure cooker will stop
working. To be able to release the lid you must firstly release any pressure in your
Pressure Cooker by pushing the STEAM RELEASE SWITCH button forward until all built
up steam is released. You may now remove the lid. (ref. Table 2)
Note: in "SAUTE'" mode the lid is not used.
TABLE 2
FUNCTION
DEFAULT
ADJUST
TIME
TIME
PRESSURE COOK
10min
1min - 4hrs
SAUTÉ
20min
1 - 30min
SLOW COOK
2hrs
1 - 12hrs
STEAM
8min
1 - 30min
MAX APPOINTMENT
MAX KEEP WARM
TIME
TIME
24hrs
24hrs
24hrs
24hrs
24hrs
24hrs
24hrs
24hrs
14
TROUBLE SHOOTING
If your Airfryer Pressure Cooker is not working properly, check whether you are able to fix
the problem yourself using the table below. If the problem cannot be fixed with the steps
that are listed, contact the customer service department.
PROBLEM
PROBABLE CAUSE
Difficulty with
Silicon gasket is not
closing the lid.
properly installed.
Float valve in the
popped-up position.
Difficulty with
Pressure exists
opening the lid.
inside the cooker.
Steam leaks
No silicon gasket
from the rim of
(sealing ring).
the lid.
Food debris attached
to the silicon gasket.
Silicon gasket
damaged.
Lid not closed
properly.
Steam leaks
Food debris on the
from the float
float valve silicone
valve.
seal.
Float valve silicone
ring worn-out.
15
SOLUTION
Position the silicon gasket well.
Slightly press the float valve downward.
Position the steam release valve to the
venting position to reduce the internal
pressure. Open the lid after the pressure
is completely released.
Install the silicon gasket.
Clean the silicon gasket.
Replace the silicon gasket.
Open then close the lid again.
Clean the float valve silicone seal.
Replace the float valve silicone ring.