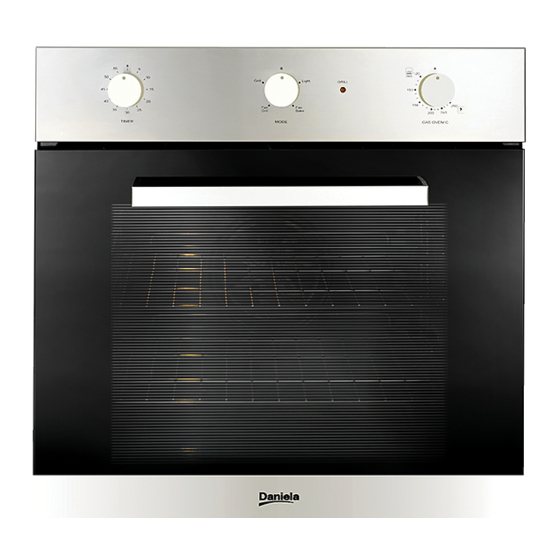
Daniela DAN6FGS Manual de instalação e operação - Página 13
Procurar online ou descarregar pdf Manual de instalação e operação para Forno Daniela DAN6FGS. Daniela DAN6FGS 20 páginas.

TECHNICAL INFORMATION
• The installation of all-gas and combi appliances
must comply with the standards code
2004.
• The Manufacturer declines all responsability for
improper installation, which may harm persons and
animals and damage property.
• Only qualified personnel can carry out the
installation operations, all adjustments, conversions
and servicing jobs listed in this section.
• The safety and automatic adjustment devices of the
appliance may, during their life, only be modified by
the manufacturer or duly authorised supplier.
• The appliances can be installed as "class 3" (fitted)
in compliance with gas standards.
• The rear wall and adjacent surfaces and those
surrounding the appliance must be able to withstand
a temperature of 90°C in compliance with electricity
standards. Any side walls should not project further
out than the front of the fitted appliance.
• All-gas and combi appliances must be installed and
be used only in permanently ventilated rooms in
accordance with the standards in force.
• This appliance is not connected to a flue for discharge
of the combustion products; it must, therefore, be
connected in compliance with the above mentioned
installation rules. Particular attention must be paid
to the instructions given below for ventilation and
aeration.
• When you have removed the packaging, check
that the appliance is not damaged. If you have any
doubts, do not use the appliance, call in a qualified
technician.
• Never leave the packaging components (plastic
bags, nails, foamed polystyrene etc...) within
the reach of the children as they are a source of
potential danger.
• Before connecting the appliance, check that the
values on the data label correspond to those of gas
and electricity mains. A duplicate data label and
wiring diagram are contained in this booklet. Please
attach these labels to an accessible surface near by
the appliance for easy reference.
�
INSTRUCTION FOR THE INSTALLER
AS 5601-
�
8
UNPACKING THE APPLIANCE
• Once the packaging has been removed, thoroughly
check that the appliance is in perfect condition. If you
have any doubts do not use the appliance and call our
Service Centre.
• Do not move the appliance by the handles.
• Some parts mounted on the appliance are protected
by a plastic film. This protection must be removed
before using the appliance. We recommend slitting the
plastic film along the edges with a sharp knife or pin.
All packaging materials used (cardboard boxes,
bags, polystyrene foam, nails, etc.) must be
kept out of the reach of children, as they are a
potential hazard source. All packaging materials
used are environmentally-friendly and recyclable
(wooden bits are free from chemicals, cardboard
is 80-100% recycled, protective bags are made
in polyethylene (PE), bands in polypropylene
(PP) and padding in polystyrene foam (PS)
without chloro-fluoro-carbides. Waste materials
can undergo treatment and be recycled saving
on new raw materials and on the amount wasted
volumes. For this purpose we suggest you take
the packaging material back to the shop you
bought the appliance or to a collecting service.
Ask your local service for the nearest service.
INSTALLING AND FIXING THE OVEN
This oven is designed for fitting inside a full height unit
or base module, on wood furniture, laminated plastic
or brickwork, following the instructions given below:
• The adhesive used to join the laminated plastic to
the piece of furniture must be able to withstand a
temperature of at least 150°C so the laminated
plastic will not come unstuck.
• Make the holes in the unit to take the oven and
for aeration, as indicated in fig. 8. If the oven is
fitted in a full height unit, in compliance with safety
standards, protection must be guaranteed to avoid
accidental contact with the bottom of the oven which
gets very hot when in use. This protection must not
be removed without the aid of a tool.
• Secure the oven to the unit with the screws (V)
(fig. 8).
13
