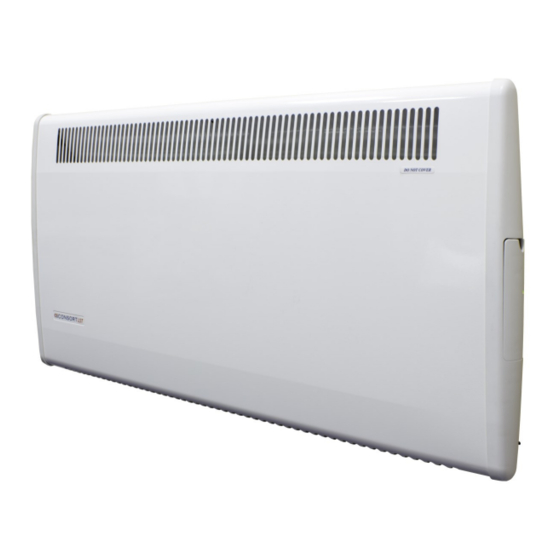
Consort PLSTi075E Manual de instalação e controlo - Página 8
Procurar online ou descarregar pdf Manual de instalação e controlo para Aquecedor Consort PLSTi075E. Consort PLSTi075E 10 páginas. R slimline low surface temperature wall mounted fan heater with intelligent fan control & electronic 7-day timer
Também para Consort PLSTi075E: Manual de instalação e controlo (7 páginas)

16. Overview of program mode
The PLSTi has a 7-day, 5-day + 2-day and a 24
hour timer available. This can be chosen in the
setup menu. Up to 6 programming steps are
available for each day. In the programming
you can set a start time and a temperature for
each program.
17. Basic operation in program mode
1.
Press and hold MENU for 5 seconds to en-
ter the program setting.
The day will be flashing. Use + and - to
2.
navigate day, press MENU to select day.
3.
PROG 1 will be flashing. Use + and - to
navigate program, use MENU to select
program.
The time will be flashing. To set time, use +
4.
and - , press MENU to set the time.
5.
The temperature will be flashing. To set
temperature, use + and - to change tem-
perature, press MENU to set temperature.
18. Setting program inactive
If you do not require the use of all 6 programs
they can be deactivated. When in program-
ming mode select the program you want to
make inactive and press the STANDBY button.
To activate the program again, press the
STANDBY button.
19. Copy day function
If you require the same set of programs
throughout the week, a 24 hour timer is availa-
ble. This will use the same program every day.
A 5-day + 2-day timer is also available. This will
use the same programs
Monday-Friday, and the same programs Satur-
day and Sunday. These modes are enabled in
the setup menu, as explained in the "setup
menu" section 20.
Alternatively, it is possible to copy a program
from one day to another.
To do this, follow the steps below;
Step 1: Press and hold MENU for 5
seconds to enter the program
setting.
Step 2: Press and hold STANDBY
for 5 seconds to enter the copy
day setting.
Step 3: Use the MENU button to
select the day to copy the pro-
grams from. 1= Monday, 2 =
Tuesday and so on.
Step 4: Use the + and - buttons to
select the day to copy the pro-
grams to.
Step 5: Press the STANDBY button
to copy the programs. The 'TO'
will flash to confirm the programs
have been copied.
20. Setup Menu
1.
Press and hold MENU and - together for 5
seconds.
2.
The display will enter the setup menu.
Use + and - to change a value.
3.
4.
Use TIME to scroll between the settings.
5.
Use standby button to exit the setup
menu.
Each available setting is explained on the fol-
lowing page.
8
