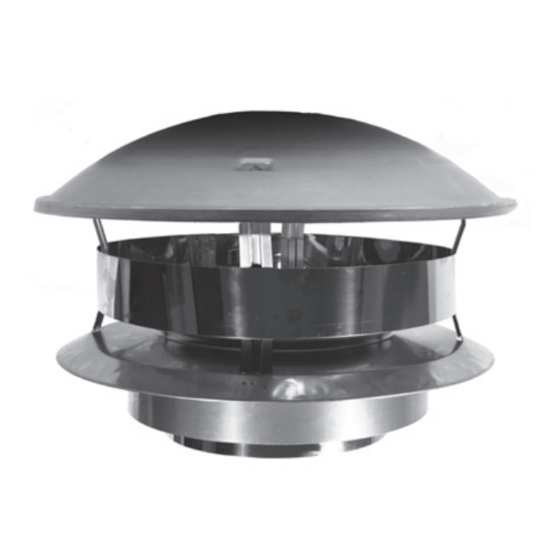
DuraVent DPC2 Manual de instruções de instalação e funcionamento - Página 6
Procurar online ou descarregar pdf Manual de instruções de instalação e funcionamento para Campânula de ventilação DuraVent DPC2. DuraVent DPC2 14 páginas. Factory-built 650 c chimney 6” & 7” dia

2
INTERIOR STRAIGHT INSTALLATION
Step 1: Locate the chimney in a convenient place as
near as possible to the appliance outlet.
Step 2: Cut and frame the openings in the ceiling and
roof where the chimney will pass.
NOTE: It is important to follow the framing dimensions
for the floor openings prescribed in this manual.
CHIMNEY
CEILING SUPPORT
SIZE
6"
14-3/8'' x 14-3/8''
7"
14-3/8'' x 14-3/8''
Step 3: From below push the support into the framed
opening. Attach the support to the framed box
using (12) - 3" spiral nails or #8 x 1 1/2" wood
screws (see Figure 5).
Step 4: Put this first chimney length in the support.
Turn in clockwise to lock it in place.
NOTE: Make sure arrow on pipe label is pointing
upward.
Step 5: In the Attic, install an Attic Insulation Shield
and Collar from above. (see Figure 6).
Step 6: Stack the next chimney length on the first
length. Be sure that the male and female
threads are not in line when putting the lengths
together. Turn the chimney clockwise to lock it
in place. You may add a 1/2" stainless steel self
tapping screw to prevent accidental unlocking.
Continue until the required chimney height is
reached.
Step 7: ROOF FLASHING INSTALLATION
Put the roof flashing in place. Seal the joint
Figure 4
6
FRAMING DIMENSION
ROOF
OPENING
14'' x 14''
15'' x 15''
Table 3
SILICONE
CAULKING
NOTE: DIAGRAMS & ILLUSTRATIONS ARE NOT TO SCALE.
CEILING SUPPORT (SFC)
Figure 5
1. BLACK STOVE PIPE
2. FINISHING SUPPORT
3. INSULATED LENGTH
4. ATTIC INSULATION
SHIELD
5. ADJUSTABLE ROOF
FLASHING
6. RAIN CAP
Figure 6
between the roof and the flashing with
roofing compound. For sloping roofs, place
the flashing under the upper shingles and on
top of the lower shingles. Nail the flashing
to the roof. Place the storm collar around
the chimney and slide down on top of the
flashing. Tighten it with the bolt supplied and
make sure the joint is properly caulked (see
Figure 4).
Step 8: Attach the rain cap to the top of the chimney.
(See Figure 3).
NAILS OR SCREWS
