darda NASCAR VICTORY LANE Manual de início rápido - Página 2
Procurar online ou descarregar pdf Manual de início rápido para Brinquedo darda NASCAR VICTORY LANE. darda NASCAR VICTORY LANE 6 páginas.
Using Track Joiners
Slide the Track Joiner - with the raised edges facing
down - half way into the channel on the underside of
the track piece. Now slide the adjoining track piece
over the open half of the joiner, so that it meets the
first piece. Be sure the tracks meet with no gaps.
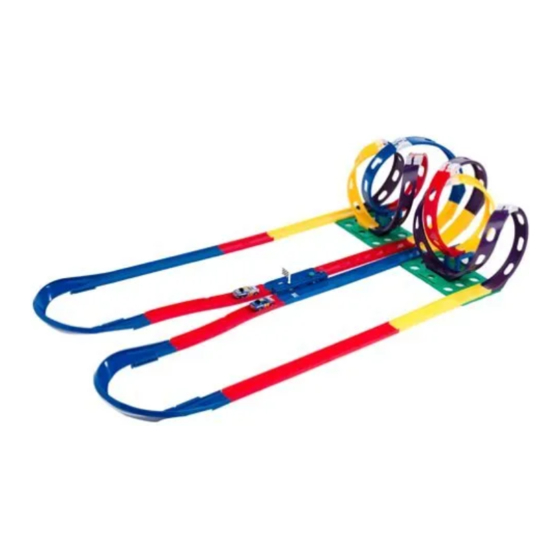
Making Loops
Put two loop halves together so that the pins at the top of each
loop half go into the proper holes, creating a tight fitting seam
between the two loop halves.
Holding the loop halves together, slide one loop joiner over one
end of the seam and the other loop joiner over the other end of
the seam.
*IMPORTANT: Make all 6 Loops in
this set before building the track.
Attaching bridges to large baseplates.
• Attach the stacking bridge to the slots on the top of the
large base plate, by squeezing the bridge together and push-
ing the tabs into the slots at the top of the base plate. The
bridge will snap into a locked position.
Using Built In Track Joiners on Baseplates
Attaching Straight Track
• Attach the straight track to the built in track joiners as shown
by sliding the ends over half of the built-in track joiners.
Attaching Loops
•Loops attach to the baseplate in the same way. Slide one open
end of the loop over an open half of the built-in track joiner.
Completed Loop
Built-In Track Joiner
Baseplate
PAGE 2
Guides
Track
Joiner
Raised edges
face down
Loop Joiners
Loop Halves
Pins