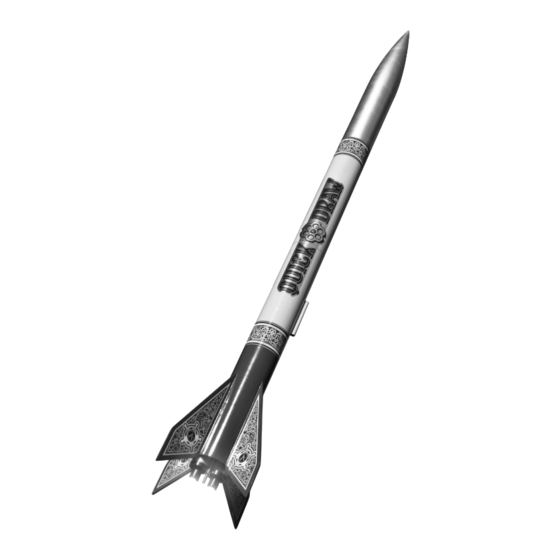
Apogee QUICK DRAW Manual - Página 5
Procurar online ou descarregar pdf Manual para Brinquedo Apogee QUICK DRAW. Apogee QUICK DRAW 12 páginas.

23. Mark the midpoint of the coupler (2" or 50 mm from
either end). Glue the bulkhead into the coupler with the
loop facing out 1/8" (3 mm) inside the coupler tube to
leave space for fillets.
24. Add fillets to both sides of the bulkhead by running a
bead of wood glue along the joint and forming the fillet
using either a finger or a dowel (particularly for the inter-
nal fillet). Allow the fillets to dry.
25. Apply glue to the interior of the second (unmarked)
body tube. The final bead should be 1" (25 mm) wide.
Install the coupler by rotating it as it is inserted and stop
at the previously marked half-way point.
26. Wrap the shoulder of the nose cone with masking tape
to achieve a tight fit so that the nose cone cannot fall out
during flight. Then install the nose cone in the tube.
Installing the Recovery System
27. Tie 4" (100mm) loops in both ends of the long piece of
kevlar shock cord and wrap the tails with tape (or apply
glue directly to the knots).
28. Pass one end of the shock cord through the loop
installed in the forward section bulkhead. Then pass one
loop in the shock cord through the other. Pull the shock
cord to tighten the slip knot. The loose end is tied to the
installed removable mount later.
29. Cut out the parachute using scissors or a hobby knife.
The parachute provided can be cut at either 32" or 24"
diameter. The smaller 24" size is sufficient for safe recov-
ery and will minimize drifting, so cut the parachute to that
size. Place one reinforcement ring on each of the para-
chute's corners and – using a sharp knife or pencil – poke
a hole in the plastic in the center of each ring.
Step 23
Step 24
Step 25
Step 26
4"
100mm
Step 27
Step 28
Step 29
2"
50mm
1/8"
3mm
Wrap shoulder with
masking tape
4"
100mm
Page 5
