Elsner Solexa II Descrição técnica, instruções de instalação - Página 16
Procurar online ou descarregar pdf Descrição técnica, instruções de instalação para Controlador Elsner Solexa II. Elsner Solexa II 20 páginas. Radio control system
Também para Elsner Solexa II: Funcionamento (13 páginas)
4.4.4. Preparing the weather station
Unclip the lid and
take it off from the top
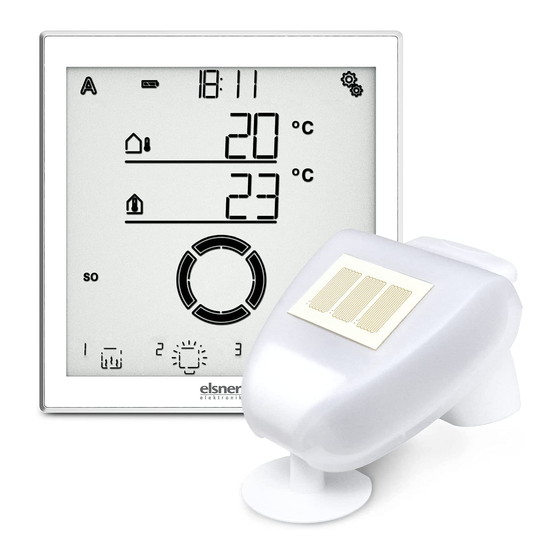
Ill. 16
1 Screw connection for cover
2 Lid with rain sensor
3 Lid notches
4 Bottom of housing
The weather station lid with the rain sensor latches into place on the lower edge to the
right and left. Remove the lid from the weather station. Proceed carefully to avoid tear-
ing off the cable connection between the circuit board in the lower section and the rain
sensor in the lid.
4.5. Connection
The weather station has one connection for a 230 V AC drive for awnings, shutters,
blinds or windows. A number of drives can be connected in parallel. When switching
motors in parallel, check whether a group control relay is specified by the motor man-
ufacturer. Group control relays can be obtained from Elsner Elektronik or from the mo-
tor manufacturer.
ATTENTION
Damage to property from switching unsuitable motors in
parallel!
Not all drives are suitable for parallel switching in drive groups.
•
Use suitable drives or connect the drives via a group control relay.
Solexa II Control • from software version 1.9
Version: 28.09.2016 • Technical changes and errors excepted.
16
Ill. 17
Remove the cable shielding under the circuit
board and only feed the connector cables up-
wards through the openings in the circuit
board.
Installation/assembly
1
2
3
4