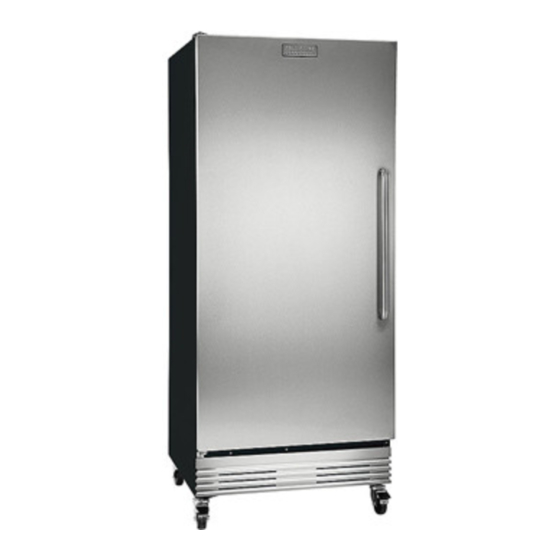
Frigidaire FCRS201RFB4 Manual de utilização e cuidados - Página 6
Procurar online ou descarregar pdf Manual de utilização e cuidados para Frigorífico Frigidaire FCRS201RFB4. Frigidaire FCRS201RFB4 11 páginas. Commercial freezer/refrigerator glass door refrigerator

- 1. Table of Contents
- 2. Product Registration
- 3. Important Safety Instructions
- 4. Electrical Information
- 5. Caster Installation and Setup (Glass Door)
- 6. Caster Installation and Setup (Non-Glass Door)
- 7. Appliance Start-Up
- 8. Features
- 9. Routine Maintenance
- 10. Energy Conservation Measures
- 11. Troubleshooting Guide
- 12. Wiring Diagram
- 13. Warranty
Appliance
Placement
Leave
a one (1) inch space
on all sides
and the back of the
cabinet
for ease of installation,
proper air circulation
and electrical
connections.
DO NOT block
the front
grill
on the lower
front
of your
appliance.
Sufficient
air circulation
is essential
for the
proper
operation
of your
appliance.
Choose
a place that is near
a grounded
electrical
outlet.
For the most
efficient
operation,
the appliance
should
be located
where surrounding
temperatures
will not drop below 4O°F (5°C) or exceed
110°F (43°C).
Additional
compressor
heaters
are not recommended.
Insulation
The insulated
space
of this cabinet
is sealed
to maintain
peak
efficiency.
Holes drilled
in the cabinet
may destroy
that seal and
damage
electrical
wiring
located
in the insulated
space.
DAMANGED
ELECTRICAL
WIRING
OR
WET
INSULATION
CAUSED
BY DRILLING
WILL VOID
THE WARRANTY.
Appliance Start-up
Once the appliance
has been
located
in its permanent
location
and the proper
power
and grounding
has
been
provided,
the
following
items
must
be checked
or completed:
Cool
Down
Period
For safe food
storage,
allow
24 hours
for the appliance
to cool
down
completely
before
loading
with
food.
The appliance
will
run continuously
for the first
several
hours.
Do not place
any
food
in the appliance
until after the first 24 hours
of operation.
Thermostat
Setting
The appliance
is shipped
from the factory
with the thermostat
set at about
the mid-
point of the operating
range. Adjustments
colder
or warmer
can be made
after the
appliance
has been
running
for at least
8 hours.
Allow
at least
8 hours
for
temperature
stabilization
before
re-
adjusting
the thermostat.
Defrost
Setting
The
appliance
is designed
to defrost
automatically
every
12
hours.
To set the time
of defrost,
wait
until the desired
time to
defrost.
With
the notch
on the timer
knob
aligned
with the line
on the bracket
(Fig. A), turn the defrost
timer
knob
clockwise
slowly.
The timer
will click
several
times,
then
once
loudly,
at
which point the defrost
cycle begins.
The timer knob will advance
through
the defrost
cycle, then click
loudly at the end of the cycle
(Fig. B). The appliance
will defrost
automatically
every
12 hours
after the first defrost
cycle.
Features
NSF and FDAApproved
Adjustable Shelving
This appliance
is provided
with
NSF and FDA approved
heavy
duty epoxy powder
coated
adjustable
shelves.
The one with the
wires
that are angled
on the front
and back goes on the floor
of
the cabinet.
The others
are placed
in the adjustable
stainless
steel shelf supports
that clip into the shelf support
strips on each
side of the interior.
Make sure
to place the shallow
shelf in the
upper-most
pos
Shallow
Regular
BoSom
Front
Fixed
and
Rear
Swivel
Casters
Glass
door unit come
with two (2) front fixed casters
with
brakes
and two (2) rear swivel
casters.
Non-glass
door
unit
comes
with two (2) front swivel
casters
with
brakes
and two (2)
rear swivel
casters.
The casters
allow the appliance
to be
moved
with ease and then
locked
in position
at its desired
location.
Fixed Caster
Swivel Caster
Adjustable
Temperature
Control
The adjustable
cold control is located on the top left side of the
evaporator
housing
inside
the
unit.
"5" is the
medium
(recommended)
setting and "9" is the coldest setting.
Fig. A
Position
of knob
before
turning
clockwise
to start
defrost
cycle
(First click)
Fig. B
Position
of knob at end
of defrost
cycle
(Second
click)
