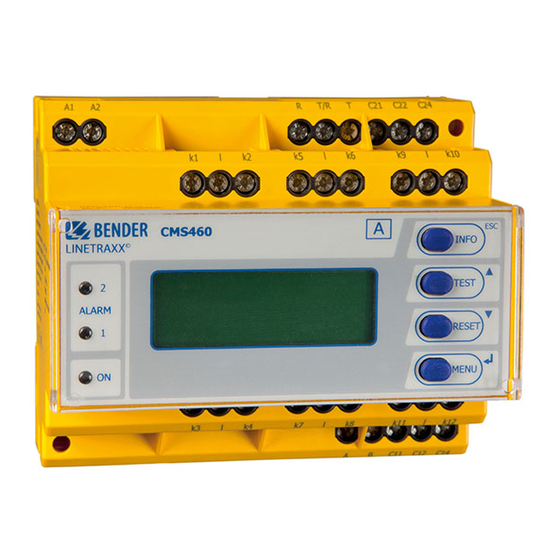
Bender LINETRAXX CMS460-D4 Manual de início rápido - Página 5
Procurar online ou descarregar pdf Manual de início rápido para Monitor Bender LINETRAXX CMS460-D4. Bender LINETRAXX CMS460-D4 8 páginas. Load current monitor with three measuring channels

Vor dem Einschalten
• Stimmt die angeschlossene Versorgungs-
spannung U
mit den Angaben auf dem
S
Typenschild des Geräts überein?
• Nur in Stromschienensystemen: Wird die maxi-
mal zulässige Nennisolationsspannung der
Messstromwandler nicht überschritten?
• Sind bei der Montage der Messstromwandler
eventuell in der Nähe vorhandene störende
Magnetfelder berücksichtigt?
• Ist die maximal zulässige Länge der Leitungen
zu den Messstromwandlern eingehalten?
• Sind Anfang und Ende des BMS-Busses mit
120 Ω Widerständen abgeschlossen?
• Ist die maximal zulässige Länge der Schnitt-
stellenleitung (1200 m) und die Anzahl der BMS-
Busteilnehmer (32) nicht überschritten?
• Sind bei der Adress-Einstellung der BMS-
Busteilnehmer keine Adressen doppelt verge-
ben worden? Ist Adresse 001 (Masterfunktion)
belegt?
Einschalten
1. Versorgungsspannung aller am BMS-Bus ange-
schlossener Geräte zuschalten. Am CMS460-D4
blinkt die LED „ON", das Grafikdisplay des
CMS460-D4 zeigt das Startbild (Bender) an.
Anschließend leuchtet die LED „ON" dauerhaft.
2. BMS-Busadressen einstellen, keine Adressen dop-
pelt vergeben.
3. Landessprache (Englisch, Deutsch, Französisch)
auswählen.
4. Messstromwandlertyp einstellen. Es muss für alle
Kanäle derselbe Wandlertyp verwendet werden.
Einstellungen eines Kanals wirken sich stets auf
alle Kanäle aus.
5. Das Überschreiten des Ansprechwertes bzw. die
Gerätefehlermeldungen werden am CMS460-D4
durch das Aufleuchten der Alarm-LEDs und eine
entsprechende Meldung auf dem Grafikdisplay an-
gezeigt (Menü „Alarm/Messwerte").
• Does the connected supply voltage US match
the information on the device nameplate?
• Only when busbar systems are used: Are you
sure that the maximum permissible nominal in-
sulation voltage of the measuring current trans-
former has not been exceeded?
• In mounting the measuring current transfor-
mers, have any magnetic fields that are nearby
and could cause interference been taken into
account?
• Has the maximum permissible cable length for
the measuring current transformers been obser-
ved?
• Is a 120 Ω resistor connected at the beginning
and end of the BMS bus?
• Has the maximum permissible length of the in-
terface cable (1200 m) and the number of BMS
nodes (32) not been exceeded?
• In respect of the BMS bus node address set-
tings, has each address only been assigned
once? Is address 001 assigned, meaning that the
master function has been assigned?
1. Connect the supply voltage of all devices connec-
ted to the BMS bus. Initially, the „ON" LED flashes
on the CMS460-D4 and the graphic display of the
CMS460-D4 shows the Bender welcome screen.
Then the „ON" LED lights up permanently.
2. Set the BMS bus addresses. Never assign one ad-
dress twice.
3. Select the appropriate national language English,
German or French.
4. Select the type of measuring current transformer.
The same current transformer type must be used
for all channels. The settings of one channel al-
ways have an impact on all channels.
5. If a response value is exceeded the device error
messages are indicated at the CMS460-D4 by illu-
minated alarm LEDs and and a respective message
on the graphic display. Information concerning
the alarms are available on the CMS460-D4 in the
„Alarm/Meas.value" menu.
CMS460_D00166_01_Q_XXDE / 02.2021
LINETRAXX® CMS460-D4
Before switching on
Switching on
5
