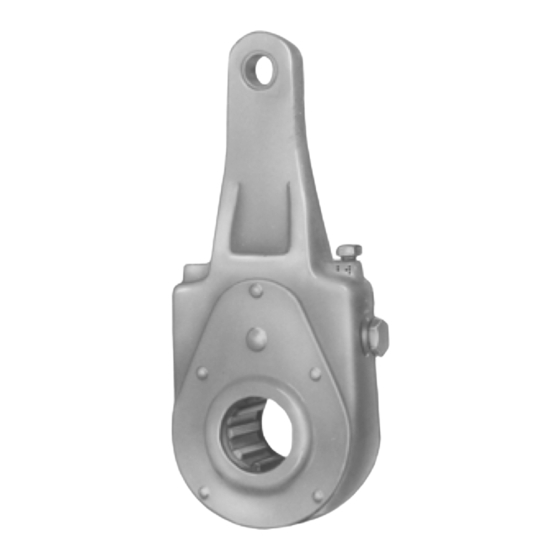
BENDIX SLACK ADJUSTERS Manual - Página 3
Procurar online ou descarregar pdf Manual para Peças para automóveis BENDIX SLACK ADJUSTERS. BENDIX SLACK ADJUSTERS 6 páginas. Manual slack adjusters

SLACK ADJUSTERS MOUNTED IN TENSION OR COMPRESSION
SLACK
ADJUSTER
PROVIDED THE MAXIMUM TORQUE RATING IS NOT EXCEEDED, BENDIX SLACKS CAN BE MOUNTED IN EITHER DIRECTION AND
STILL MEET THE ENGINEERING TEST SPECIFICATION (50K CYCLES AT MAXIMUM RATED LOAD). COMPRESSION MOUNTING IS
NOTE: Some Bendix slack adjusters were manufactured
without a lubrication provision in the body; however,
the slack adjuster may be lubricated through the
cover as follows:
1. Remove rubber plugs from both covers and discard.
2. Determine which side of slack adjuster is accessible for
lubrication and install washer (Pc. No. 230156) and
grease fitting (BW Pc. No. 244017) Alemite #1625 using
Alemite tool #5254 to press grease fitting firmly in place
in cover.
3. Install steel plug (Pc. No. 244400) in other cover, making
certain it is firmly in place.
4. Lubricate slack adjuster. Apply a sufficient amount of
grease to completely fill body cavity.
SERVICE TESTS
1. Apply brakes and check that slack adjusters rotate freely
and without binding.
2. Release brakes and check that slack adjusters return
to the released position without binding.
3. With brakes released, check that the angle formed by
the slack adjuster arm and actuator push rod is greater
than 90 degrees. All slack adjusters should be set at
this same angle.
4. With brakes applied, check that the angle formed by
the slack adjuster arm and actuator push rod is still
slightly greater than 90 degrees. All slack adjusters
should be set at this same angle.
REMOVAL AND INSTALLATION
CAUTION: Before attempting to remove slack adjusters,
proper precautions should be taken so that an automatic
application of the actuators does not occur while removing
or installing slack adjusters, thus causing possible injury.
Decreasing air pressure can cause a sudden full brake
application without warning. Depending on type of system
on vehicle, it maybe necessary to drain all air reservoirs or
mechanically back off spring brake chambers.
BRAKE
CHAMBER
ADJUSTING
SCREW
TENSION
RECOMMENDED AND WILL YIELD A LONGER SERVICE LIFE.
BRAKE
CHAMBER
SLACK
ADJUSTER
ADJUSTING
SCREW
A. REMOVAL
1. Remove the chamber push rod yoke pin.
2. Remove the retaining mechanism from end of brake
cam shaft.
3. Rotate the slack adjuster by turning the adjusting nut.
4. Slide the slack adjuster off of the spline end of the brake
cam shaft.
B. INSTALLATION
1. Install slack adjuster on brake cam shaft so the
adjustment screw and grease fitting (if so equipped) are
accessible for servicing.
2. Install retaining mechanism on end of brake cam shaft
to hold slack adjuster in place.
3. Turn adjusting nut to line up yoke pin hole with arm
hole. Install yoke pin and cotter pin.
4. Refer to steps 3 and 4 under "Service Tests" and make
sure the proper adjustments are made after installing a
slack adjuster.
SLACK ADJUSTER REPLACEMENT
When replacing one type of slack adjuster with another type,
it is necessary to match or exceed the torque rating and
match the arm length, yoke pin diameter, offset spline
diameter and width. It is also necessary to make certain
that there is adequate clearance at release and full stroke.
DISASSEMBLY AND ASSEMBLY
NOTE: Disassembly and assembly instructions apply only
to assemblies with riveted covers. Assemblies with
welded covers are considered non-serviceable and
are replaced as an assembly.
TYPE 20 TO 30 WITH POSITIVE LOCK MECHANISM AND
RIVETED COVER DISASSEMBLY
1. Remove rivets holding covers.
2. Remove welch plug.
COMPRESSION
3
