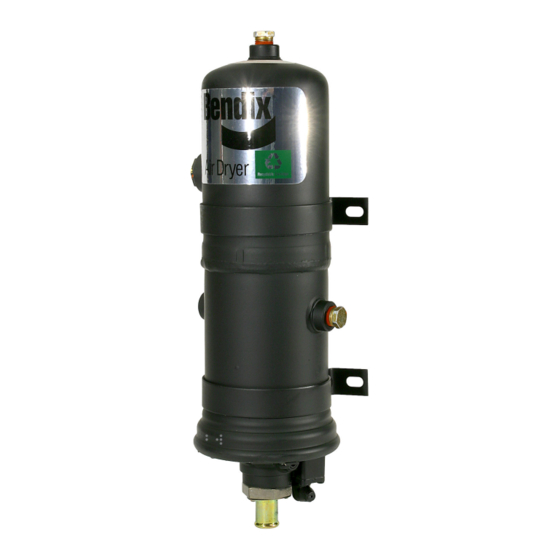
BENDIX AD-1 Dados de serviço - Página 6
Procurar online ou descarregar pdf Dados de serviço para Desumidificador BENDIX AD-1. BENDIX AD-1 16 páginas.
Também para BENDIX AD-1: Manual (16 páginas)

Note: Purge valve will be open when governor cut-out
pressure is reached. Allow two minutes for purge cycle
before testing the check valve.
4. Check for excessive leakage at the purge valve by
coating the exhaust with a soap solution while the
compressor is loaded (compressing air).
5. Check the operation of the safety valve by pulling
the exposed stem while the compressor is loaded
(compressing air). There must be an exhaust of air while
the stem is held and the valve should re-seat when the
stem is released.
6. Check all lines and fi ttings leading to and from the air
dryer for leakage and integrity.
7. Check the operation of the end cover heater and
thermostat assembly during cold weather operation as
follows:
A. Electric Power to the Dryer
With the ignition or engine control "on", check
for power at the dryer's electrical terminal with a
voltmeter or test light. (See Figure 16.) If there is
no voltage, look for a blown fuse, broken wires, or
corrosion in the vehicle wiring harness.
B. Thermostat and Heater
1. Turn off the ignition switch and cool the
end cover assembly to below 40°F. With an
ohmmeter, check the resistance between the
electrical terminal and the aluminum of the end
cover. (See Figure 16.)
This resistance should be 2.0–4.0 ohms for a
12 volt end cover; 8.1–13 ohms for a 24 volt / 60
watt end cover; and 4.0–7.0 ohms for a 24
volt /120 watt end cover.
2. Warm the end cover assembly to over 90°F and
check the resistance as above. This resistance
should exceed 1,000 ohms.
If these resistances are within the limits, the
thermostat and heater are operating properly.
If these resistances are outside the limits,
proceed to Step C to determine the cause.
C. Heater Element
With the ignition or engine control switch "off",
remove the thermostat cover. (See Figure 17.)
With an ohmmeter, check the resistance between
the aluminum of the end cover and the heater post.
For a 12 volt end cover, the resistance should be
2.0–2.8 ohms. For a 24 volt / 60 watt end cover,
8.1–11.1 ohms; and for a 24 volt / 120 watt end
cover, 4.0–4.6 ohms. If the heater resistance is
outside these ranges, a new or remanufactured end
cover should be installed, since the heater element
cannot be serviced.
6
If the heater resistance is within the limits the
thermostat should be replaced (Kit Number
102657N) or a new or remanufactured end cover
installed.
D. Reassembly
Reinstall the thermostat cover as shown in
Figure 17. Use care to ensure the rubber spacer
and the gasket are correctly installed.
8. Every 7,200 hours, 200,000 miles, or every 24 months,
change the desiccant cartridge.
NOTE: The desiccant change interval may vary from
vehicle to vehicle. Although typical desiccant cartridge
life is two years, many will perform adequately for three
to four years. In order to take maximum advantage of
desiccant life and ensure that replacement occurs only
when necessary, it is important that Serviceability Checks
1–7 be performed.
REPLACING OR REBUILDING THE BENDIX
AD-1
™
AND AD-2
®
AIR DRYER
GENERAL
If, after completing the routine serviceability tests, it has
been determined that one or more components of the air
dryer requires replacement or maintenance, refer to page
13 to identify the appropriate kit(s) needed. When rebuilding
or replacing components of the air dryer, use only genuine
®
Bendix
replacement parts or kits.
REMOVAL OF THE DESICCANT CARTRIDGE
1. Loosen the air line to the control port of the air dryer
and allow the trapped air to escape to atmosphere.
After the air escapes, remove the control line from the
air dryer.
2. Loosen the delivery line from the delivery port or outlet
of the air dryer. After the pressure drops, remove the
delivery line. Loosen the delivery check valve from
this port to relieve any trapped air above the desiccant
plate assembly. If the AD-1 air dryer has an external
check valve at the delivery port, loosen it to relieve air
pressure.
3. Disconnect the heater wire.
4. Remove any exhaust silencers or the exhaust check
valve cover from the base of the air dryer. Using a hex
socket and wrench, loosen the purge valve assembly
and allow any trapped air to escape. Slowly unscrew
the purge valve and remove it.
5. Check all ports to ensure that air is not trapped in the
air dryer by powdered desiccant material.
®
