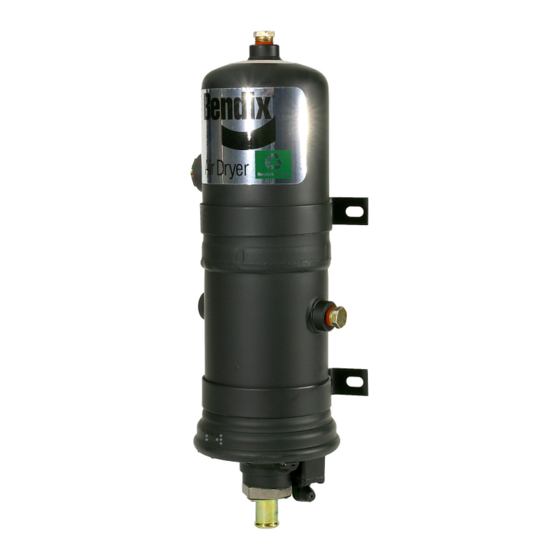
BENDIX AD-2 Manual - Página 10
Procurar online ou descarregar pdf Manual para Desumidificador BENDIX AD-2. BENDIX AD-2 16 páginas.
Também para BENDIX AD-2: Dados de serviço (16 páginas)

DISASSEMBLY
REBUILDING THE AD-1
COVER ASSEMBLY
To remove the end cover assembly from the air dryer follow
steps 1-6 under the section of this manual entitled Removal
of Desiccant Cartridge AD-1
rebuilding the end cover, clean the exterior thoroughly using
a quality commercial solvent.
1. Remove and discard the large o-ring around the end
cover.
2. Remove the exhaust elbow and clamp.
3. Remove the cap nut and discard the cap nut o-ring.
4. Place the handle of a large screwdriver in a vise and
secure it.
5. Place the slot in the plunger (cap nut end) over the blade
of the screwdriver, hold it securely and remove the nut
from the plunger using a 1/2" socket wrench.
6. Remove the plunger, spring and valve. Discard the valve.
7. Clean and inspect the plunger bore and the valve seat.
8. Remove and discard the three o-rings from the plunger.
Clean the plunger.
NOTE: If during the serviceability checks it was determined
that the heater and thermostat were defective, use
the following procedure. It is not necessary to
replace this assembly each time the purge valve is
rebuilt.
FIGURE 14
9. Remove the two screws that secure the shield or
thermostat retaining clip to the end cover.
10. Remove the shield or clip and the thermostat and inspect
the bore for corrosion.
10
™
AIR DRYER END
™
and AD-2
™
air dryer. Before
FIGURE 15-1
FIGURE 15-2
11. Remove the square cut seal ring at the bottom of the
thermostat bore.
12. Remove the screw, retaining clip, o-ring, and the heater
element. Inspect the bore for corrosion and if necessary,
clean it.
ASSEMBLY
13. Install the heater element, securing it in the end cover
with the retainer clip and screw.
14. Install the square cut seal ring in the thermostat bore.
