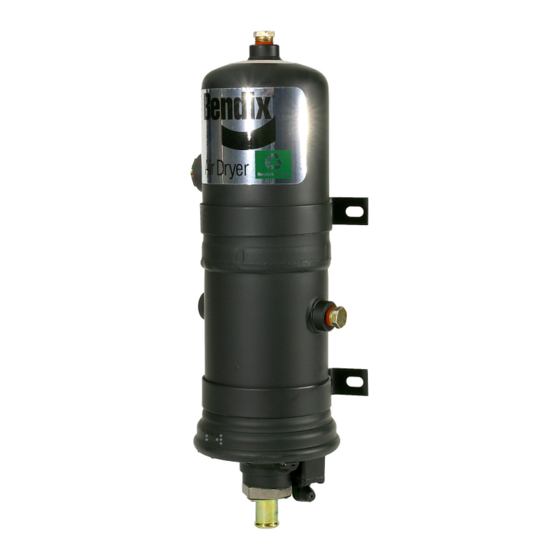
BENDIX AD-2 Dados de serviço - Página 16
Procurar online ou descarregar pdf Dados de serviço para Desumidificador BENDIX AD-2. BENDIX AD-2 16 páginas.
Também para BENDIX AD-2: Manual (16 páginas)

SYMPTOM
4. Constant exhaust of
air at the air dryer
purge valve exhaust
or unable to build the
system pressure.
5. The air dryer does
not purge or exhaust
air.
6. Desiccant material
being expelled from
the air dryer purge
valve exhaust (may
look like whitish liquid
or paste or small
beads).
OR
Unsatisfactory
desiccant life.
7. Unable to remove
the end cover, or
unable to install new
desiccant cartridge.
8. Air dryer end cover
separates from the
air dryer housing
during operation.
SD-08-2403 Rev. 006 © 2017 Bendix Commercial Vehicle Systems LLC, a member of the Knorr-Bremse Group • 06/17 • All Rights Reserved
16
BENDIX
®
AD-2
®
AIR DRYER TROUBLESHOOTING
CAUSE
A. Air dryer purge valve leaking excessively.
B. Defective governor.
C. Purge control line connected to reservoir
or exhaust port of governor.
D. Purge valve frozen open - faulty heater
and thermostat, wiring or blown fuse.
E. Inlet and outlet air connections are
reversed.
F. Check valve between the air dryer and
the fi rst reservoir is defective.
G. Kinked or blocked (plugged) discharge
line.
H. Excessive bends in the discharge line
(water collects and freezes).
I.
Excessive system leakage.
A. Broken, kinked, frozen, plugged or
disconnected purge control line.
B. Faulty air dryer purge valve.
C. See Causes B,E,F,G,H, for Symptom #4.
A. This symptom is almost always
accompanied by one or more of
Symptoms #1,2,3,4 and 5. See related
causes for these Symptoms above.
B. Air dryer not securely mounted.
(Excessive vibration).
C. Defective cloth covered perforated plate
in the air dryer desiccant cartridge or
improperly rebuilt desiccant cartridge.
D. Compressor is passing excessive oil.
E. Faulty heater and thermostat, wiring or
fuse not allowing purge. (Cold weather
operation only.)
A. Result of reversing the inlet and outlet
connections. (See Symptom #4, Cause
E.)
A. Excessive system pressure build-up
within air dryer; caused by either plugged
desiccant, check valve failure, frozen
or obstructed discharge line (between
air dryer and fi rst reservoir) or governor
failure in conjunction with safety valve
failure.
Log-on and Learn from the Best
On-line training that's available when you are 24/7/365.
Visit www.brake-school.com.
REMEDY
A. With the compressor loaded, apply a soap solution on
the purge valve exhaust, to test for excessive
B. Check the governor for proper "cut-in", "cut-out"
pressure and excessive leakage in both positions.
Repair or replace as necessary.
C. The purge control line must be connected to the
unloader port of governor.
D. Test heater and thermostat as described in Step 7 of
the Preventive Maintenance Section.
E. Compressor discharge to inlet port. Reconnect the
lines properly.
F. Test the check valve for proper operation (see
Symptom #3, Remedy B).
G. Check to determine if air passes through the
discharge line. Check for kinks, bends or excessive
carbon deposits.
H. Discharge line should be constantly sloping from
compressor to air dryer with as few bends as possible.
I.
See Symptom #1's Causes and Remedies.
A. Test to determine if air fl ows through purge control line
when the compressor is unloaded. Check for undrilled
fi ttings. (See Symptom #4, Remedy C.)
B. After determining that the air reaches purge valve
(Remedy A above), repair the purge valve.
C. Refer to Remedies B, E, F, G, H, for Symptom #4.
A. See Causes and Remedies for Symptoms #1,2,3,4
and 5.
B. Vibration should be held to a minimum. Add bracket
supports or change the air dryer mounting location if
necessary.
C. Replace or rebuild the desiccant cartridge. NOTE:
If rebuilding the cartridge, carefully follow the
instructions packed with cartridge rebuild kit.
D. Check for proper compressor installation; if symptoms
persist, replace the compressor.
E. Refer to Remedy D under Symptom #4.
A. Refer to Symptom #4, Cause E.
A. Because it is diffi cult to determine the extent of the
internal damage to the air dryer, it is recommended
that the air dryer be replaced. NOTE: This type of
failure can be prevented by checking the dryer for
proper operation every three (3) months.
