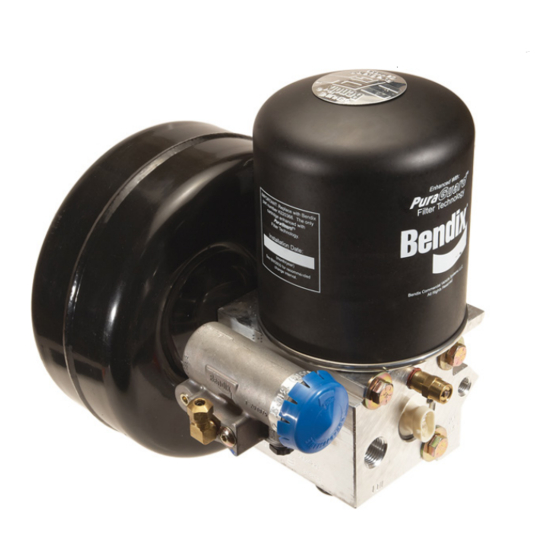
BENDIX AD-IS - Manual - Página 11
Procurar online ou descarregar pdf Manual para Desumidificador BENDIX AD-IS -. BENDIX AD-IS - 17 páginas. Air dryer and reservoir system
Também para BENDIX AD-IS -: Brochura (2 páginas), Dados de serviço (15 páginas)

- 1. Air Dryer/Reservoir System Charge Cycle
- 2. Air Dryer/Reservoir System Purge Cycle
- 3. Charge Cycle
- 4. Purge Cycle
- 5. Preventive Maintenance
- 6. Operation & Leakage Tests
- 7. Pressure Protection Valve Locations
- 8. Testing
- 9. Braking System Protection & Inspection
- 10. Temporary Air Dryer/Reservoir System Bypass
- 11. Delivery Check Valve Cleaning Procedure
- 12. Cleaning and Inspection
- 13. Troubleshooting
®
AD-IS
AIR DRYER AND RESERVOIR SYSTEM TROUBLESHOOTING CHART
SYMPTOM
1. Dryer is constantly
"cycling" or purging.
CAUSE
A. Excessive system
leakage.
B. Defective delivery check
valve.
C. Defective governor.
D. Compressor unloader
mechanism leaking
excessively.
REMEDY
A. Test for excessive system leakage.
Allowable leakage observed at dash gauge:
Single vehicle - 1 psi/minute.
Tractor trailer - 3 psi/minute.
Using soap solution, test vehicle for leakage at
fittings, drain valves and system valves. Repair
or replace as necessary.
B. Build system pressure to governor cut-out. Wait
1 minute for completion of purge cycle. Using
soap solution at exhaust of purge valve, leakage
should not exceed a 1" bubble in less than 5
seconds.
If a rapid loss of pressure is found, the following
procedure will determine if the delivery check
valve is malfunctioning:
Build system pressure to governor cut-out and allow
a full minute for the normal dryer purge cycle to
empty the purge reservoir. Switch off the engine
and "fan" the brakes so that the system pressure
reaches governor cut-in. The purge valve will return
to its closed position. The purge reservoir has a
drain valve which is opened by moving the center
lever away from its closed position. Open the drain
valve and wait 10 seconds to allow any residual
purge pressure to be released. Release the lever,
closing the drain valve. Carefully remove the air
dryer cartridge using a strap wrench and then test
for air leaking through the center of the threaded
boss by applying a soap solution to the boss.
Replace the delivery check valve if there is
excessive leakage (exceeding a 1" bubble in 5
seconds).
Regrease the seal on the air dryer cartridge before
reinstalling. Be sure the drain valve on the purge
reservoir is not leaking before restoring vehicle to
service.
C. Check governor at both "cut-in" and "cut-out"
position for (i) proper pressures and (ii)
excessive leakage at fittings and exhaust.
D. Remove air strainer or fitting from compressor
inlet cavity. With compressor unloaded, check
for unloader piston leakage. Slight leakage is
permissible.
11
