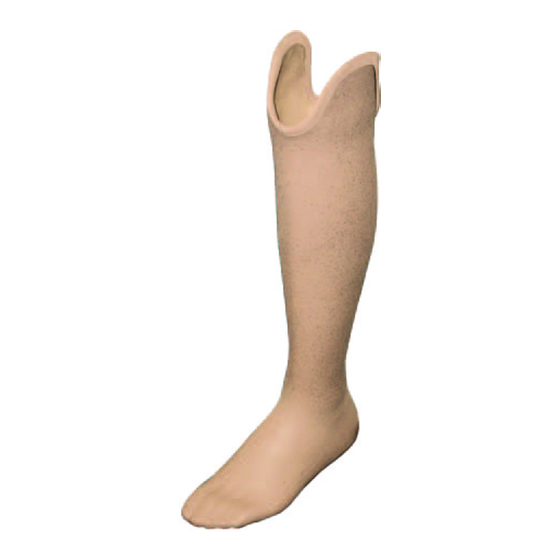
DAW Industries EZ-Access DAWSKIN Manual de início rápido - Página 5
Procurar online ou descarregar pdf Manual de início rápido para Equipamento médico DAW Industries EZ-Access DAWSKIN. DAW Industries EZ-Access DAWSKIN 8 páginas.

STEP
3
GLUE EZ-WRAP TO THE SOCKET BRIM
1. Pull the tubular EZ-Wrap over socket brim far enough
down so that the DAWSkin, when pulled up, will overlap
the bottom edge of the EZ-Wrap by at least 1in (3cm).
2. To keep the EZ-Wrap up in position while gluing,
tie the included latex strap over the EZ-Wrap
approximately 11/2in (4cm) below posterior socket brim.
3. Fold the EZ-Wrap down over the latex strap to expose the socket brim.
4. Glue EZ-Wrap to Socket Brim using Only DAW S-GLUE Regular Formula (DSK-SG):
WARNING:
too much heat and will damage the DAWSKIN.
Starting from the posterior brim, apply a thin layer of S-Glue, 1/8" wide, to the
socket brim (see illustration below). S-Glue working time = 6 seconds.
Work in 2 inch sections at a time.
CAUTION:
heat, which can damage the DAWSKIN. Maintain even,
sparing application using applicator nozzle.
5. Without stretching, press the EZ-Wrap over the glue-coated surface. Rub your finger
over the area quickly to smooth the glue between the socket and the DAWSKIN.
6. Hold with pressure for 20 seconds, allowing the S-Glue to cure.
7. Using the same procedure as in Steps 4, 5, & 6 glue anterior brim. Then glue medial
and lateral portions.
8. Once the glue has cured, trim the edge with a sharp blade. The edge can be perfected
using a fine sanding cone on a rotary sander. For the most professional finish, use the
matching color of DAWTRIM to finish the socket brim.
Fasten ONLY with DAW S-Glue. All other fast-setting glues produce
S-Glue must be applied sparingly. Excess application will generate
Do
4
S-Glue
Do Not
✘
S-Glue
Pg. 4
EZ-Wrap
Latex Strap
