Gage Bilt GB784 Instruções de instalação - Página 9
Procurar online ou descarregar pdf Instruções de instalação para Ferramenta eléctrica Gage Bilt GB784. Gage Bilt GB784 13 páginas.
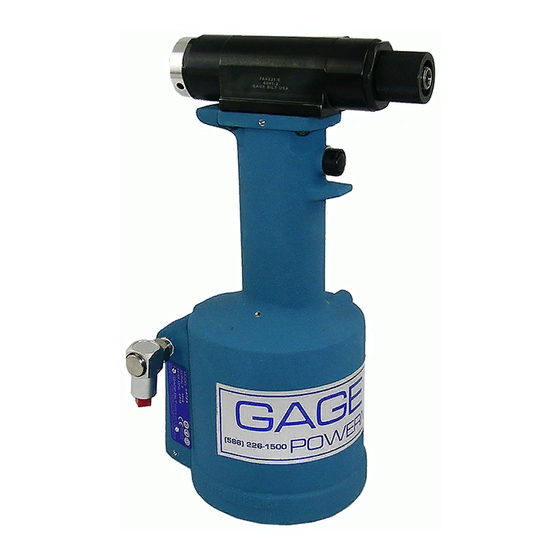
HANDLE
To inspect air cylinder bore, remove base cover (744124). Any further disassembly will require removal of the head cylinder (784221)
first. For complete disassembly, start by removing base cover (744124). Next, holding tool upright, remove four button-head cap
screws (402479). Lift head cylinder (784221) from handle (744129) and set aside o'ring (S832) and gasket (704129). Empty all
hydraulic fluid into a container. Place piston rod wrench (704149) down into top of power cylinder (743131), into slot of piston rod
assy. (744136). While holding this wrench, remove flexlock nut (400559) using a 7/16" socket wrench. Still holding piston rod wrench,
remove air piston (744121) using packing plug wrench (704150), by turning counterclockwise. When air piston is completely free from
piston rod, tap or push on the piston rod wrench to eject air piston from bottom of handle. After removal of air piston, slide piston rod
(744136) back up to the end of its travel. Using packing plug wrench (704150) remove packing plug (744118). With packing plug
removed, power cylinder (743131) can be removed by pushing on power cylinder tool (704151) when inserted into top of power
cylinder.
To reassemble the handle, reverse the above procedure, being certain that all o'rings are properly lubricated before installation.
Torque packing plug (744118) to 45 foot lbs. Attach the seal guide (704152) to the piston rod assembly (744136) and tap the piston rod
through the packing plug (744118). Attach air piston (744121) and flexlock nut (400559) torque flexlock nut to 40 inch lbs. Attach air
piston (744121) to piston rod assembly (744136). With the piston rod in the down position, fill oil passage on top of handle with
automatic transmission fluid, Dexron III or equivalent, when looking at top of handle the oil passage is the hole that has a counterbore
for o'ring (S832). Replace gasket (704129) and o'ring (S832), just prior to replacing head cylinder (784221). (See Filling & Bleeding
instructions.)
AIR VALVE
WARNING:
DISCONNECT TOOL FROM ITS AIR SOURCE BEFORE DISASSEMBLY.
To disassemble, first disconnect tool from its air source.
into end of valve plug (744142) and pull it out. Using the same procedure, pull out spool (743142). NOTE: It should never be
necessary to remove valve sleeve (743144) unless the ports in the sleeve are plugged from contaminated air. If ports are plugged,
use needle nose pliers to grasp end of spring (744144), turning clockwise and pulling to dislodge from groove in valve chamber.
NOTE: Valve spring installation tool (744151) will facilitate the proper installation of the spring (744144), valve sleeve (743144) can be
pulled out using valve sleeve removal tool 744152.
S832 - O'RING
704129 - GASKET
704130
TRIGGER ASSEMBLY
744129 - HANDLE
S908 - BACK-UP RING
PISTON ROD ASSEMBLY
(INCLUDES S908 AND A-201)
402479 - BUTTON
HEAD CAP SCREW (4)
S885 - O'RING
743131 - POWER
CYLINDER
403805 - O'RING
S892 - O'RING
A-201 - O'RING
744136
Remove pin (744149) and muffler (744143). Insert valve extractor (S1178)
A-249 - SWIVEL
400784 - O'RING
743144 - VALVE
SLEEVE
744144 - SPRING
400779 - O'RING
743142 - VALVE SPOOL
ASSEMBLY
400785 - O'RING
744142 - VALVE PLUG
400785 - O'RING
744143 - MUFFLER
744149 - PIN
9
A-287 - O'RING
S115 - BACK-UP RING
A-271 - O'RING
744118 - PACKING PLUG
S115 - BACK-UP RING
A-287 - O'RING
S909 - BACK-UP RING
401462 - QUAD RING
S909 - BACK-UP RING
744121 - AIR PISTON
ASSEMBLY
400559 - FLEXLOCK NUT
S12 - O'RING
744124 - BASE COVER
Rev. 12/12