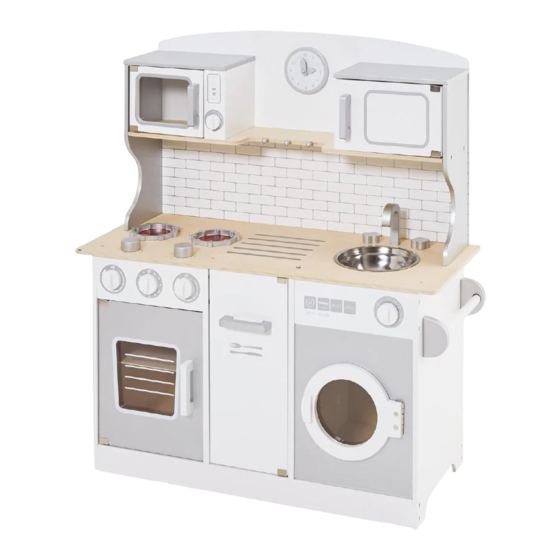
Great Little Trading L4724 Montagem - Página 6
Procurar online ou descarregar pdf Montagem para Mobiliário de interior Great Little Trading L4724. Great Little Trading L4724 6 páginas.

Hardware for Step 9:
4x #1 25 mmL screws
STEP 9:
Attach the shelf panel (Y) to side panels (R) and (S) using 4 x screws (#1).
Then slide components (V), (W) and (X) into position shown above.
Hardware for Step 10:
8x #1 25 mmL screws
STEP 10:
Attach the microwave top panel (b) and cupboard
top panel (c) using 8 x screws (#1).
V
W
Y
R
S
X
b
c
Hardware for Step 11:
8x #1 25 mmL screws
STEP 11:
Attach the top assembly to the base unit
using 8 x screws (#1).
Hardware for Step 12:
13x #1 25 mmL screws
2x #2 12 mmL screws
STEP 12:
Add the clock (d) to the back panel
(e) using 2 x screws (#2).
Attach the back panel (e) to the unit
using 13 x screws (#1).
When attaching the left centre
screw also secure the anti-tip strap
The strap should now be attached to the
wall using hardware that is suitable for the
walls in your home (not provided).
Copyright© 2016 G.L.T.C. Ltd. All rights reserved.
6
Great Little Trading Company and GLTC are registered trade marks of G.L.T.C. Limited.
#2
#2
d
e
left centre
screw, insert
anti-tip strap
through screw
then screw
through panel e
to unit
